This is part of a series of posts for the Retro Challenge 2018/04. See my index page for the other posts.
The next step in my Osborne restoration is to look at the broken keyboard.
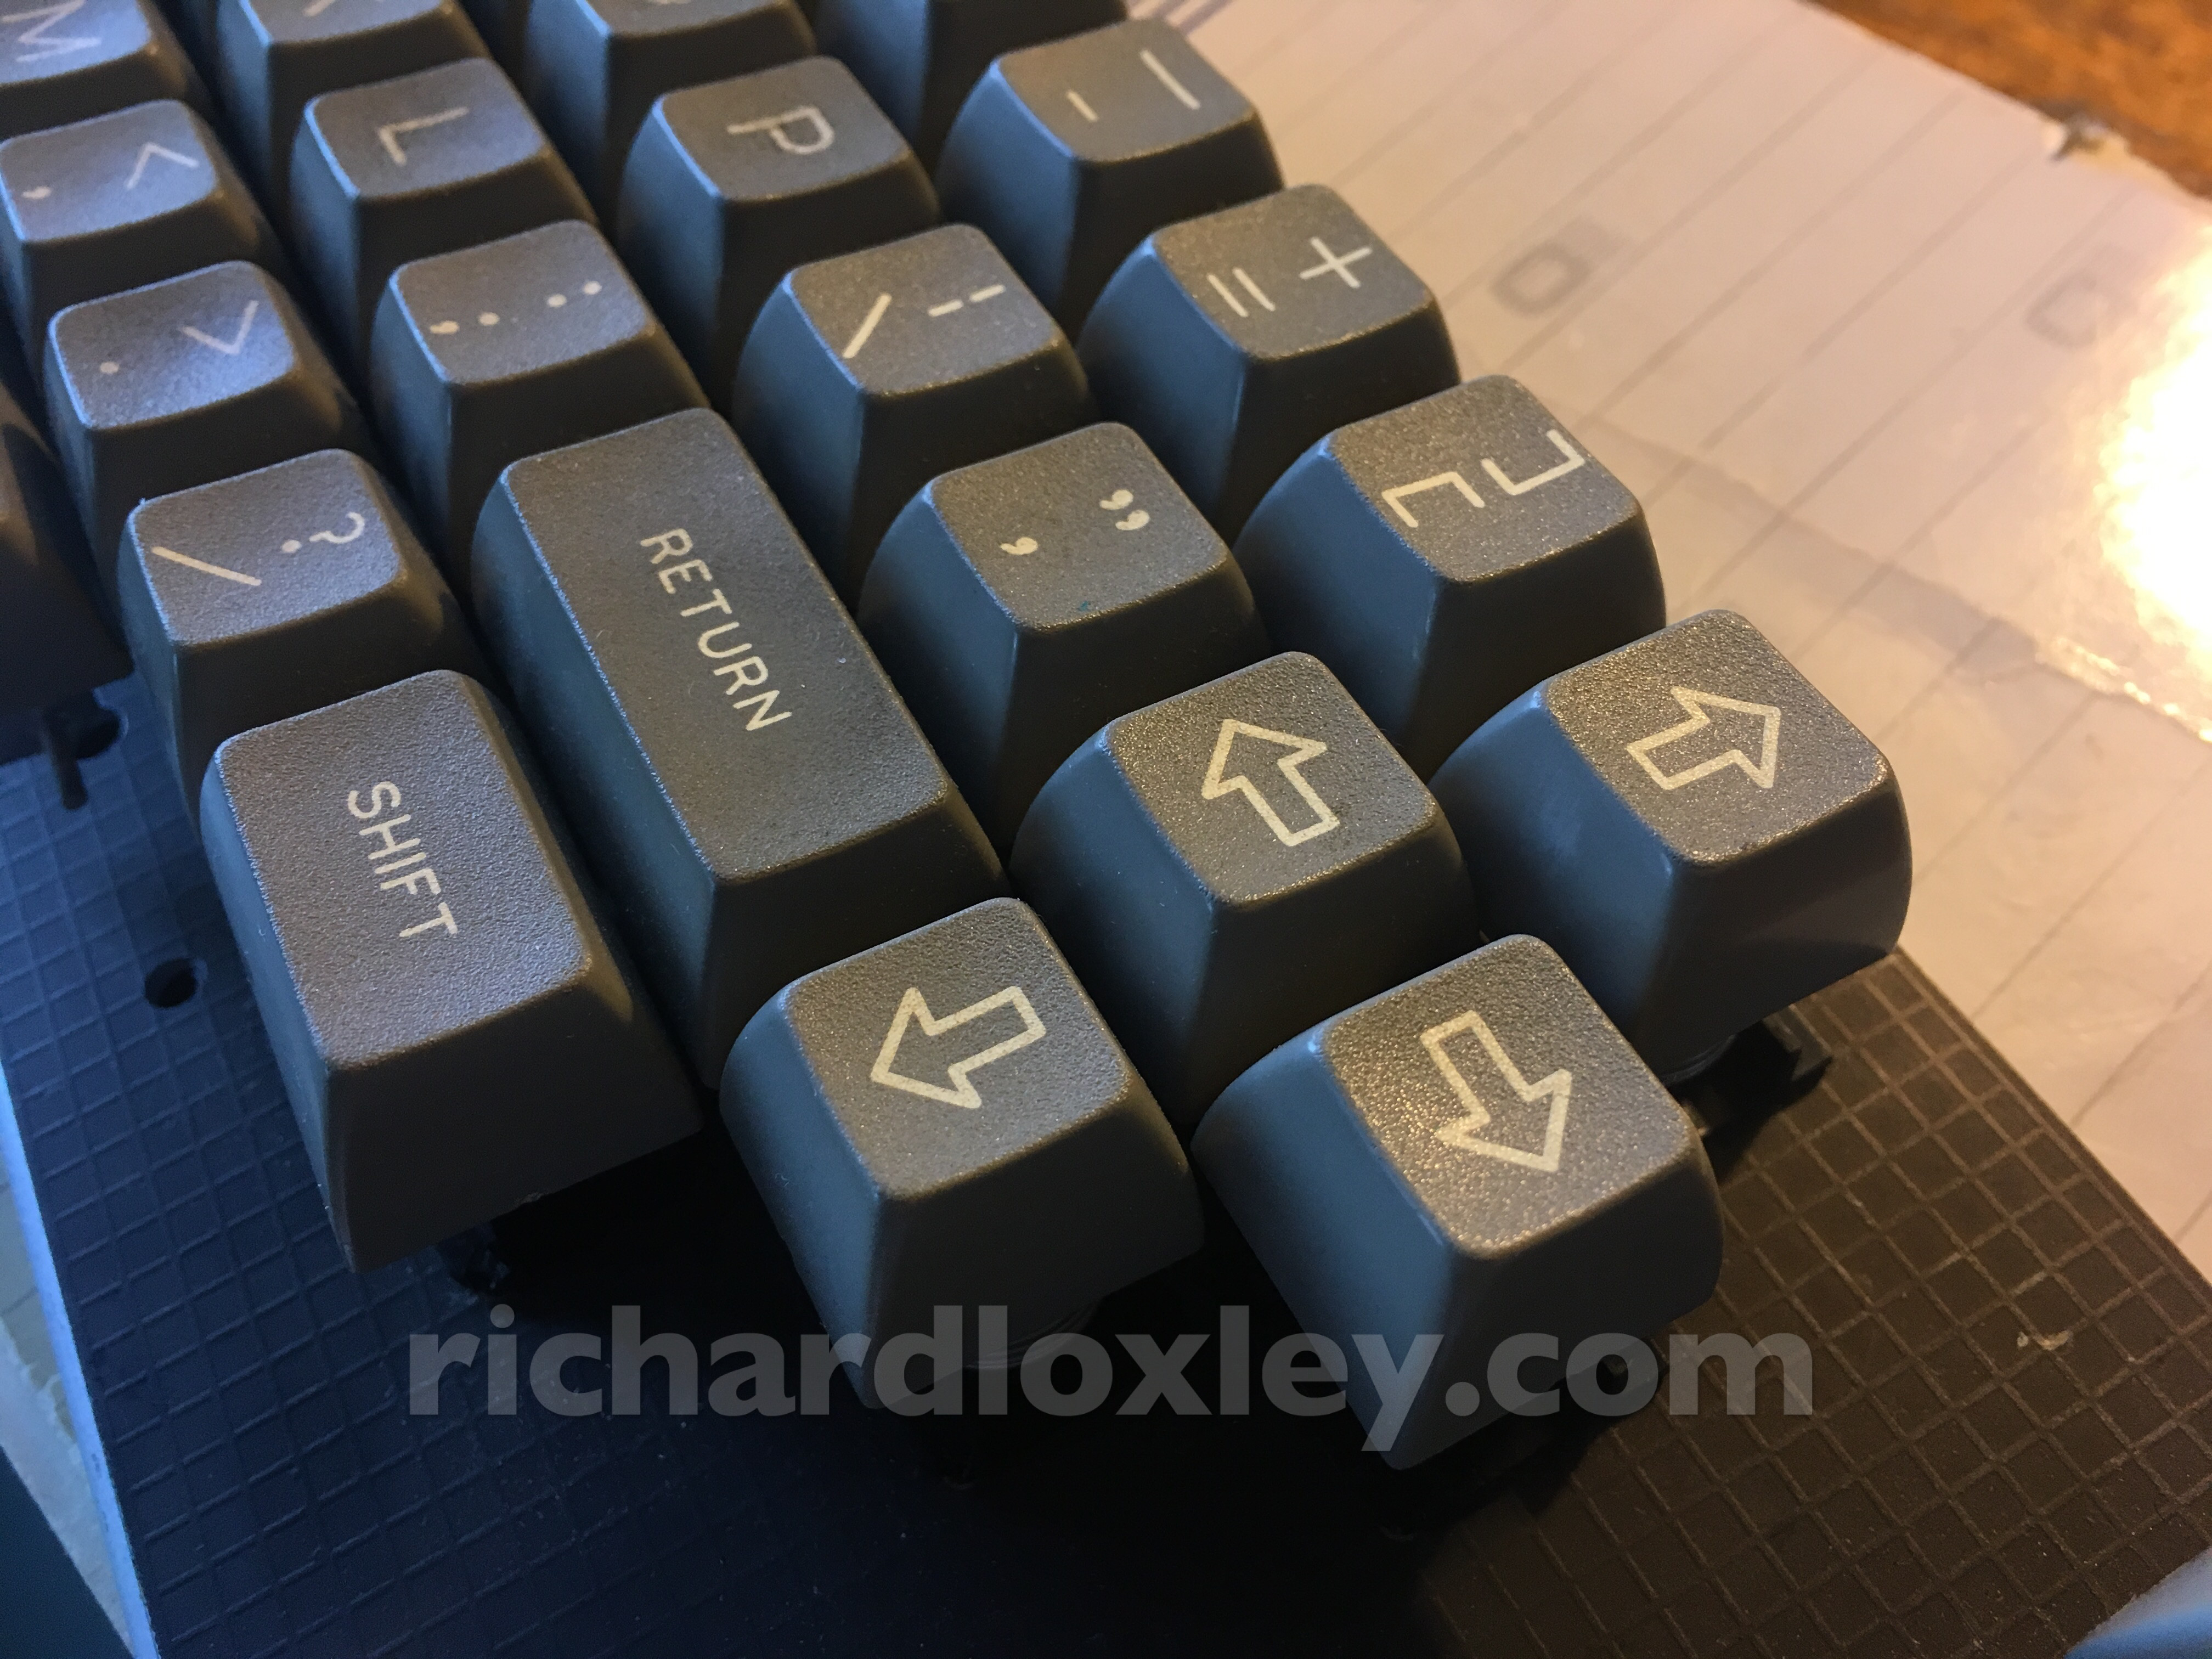
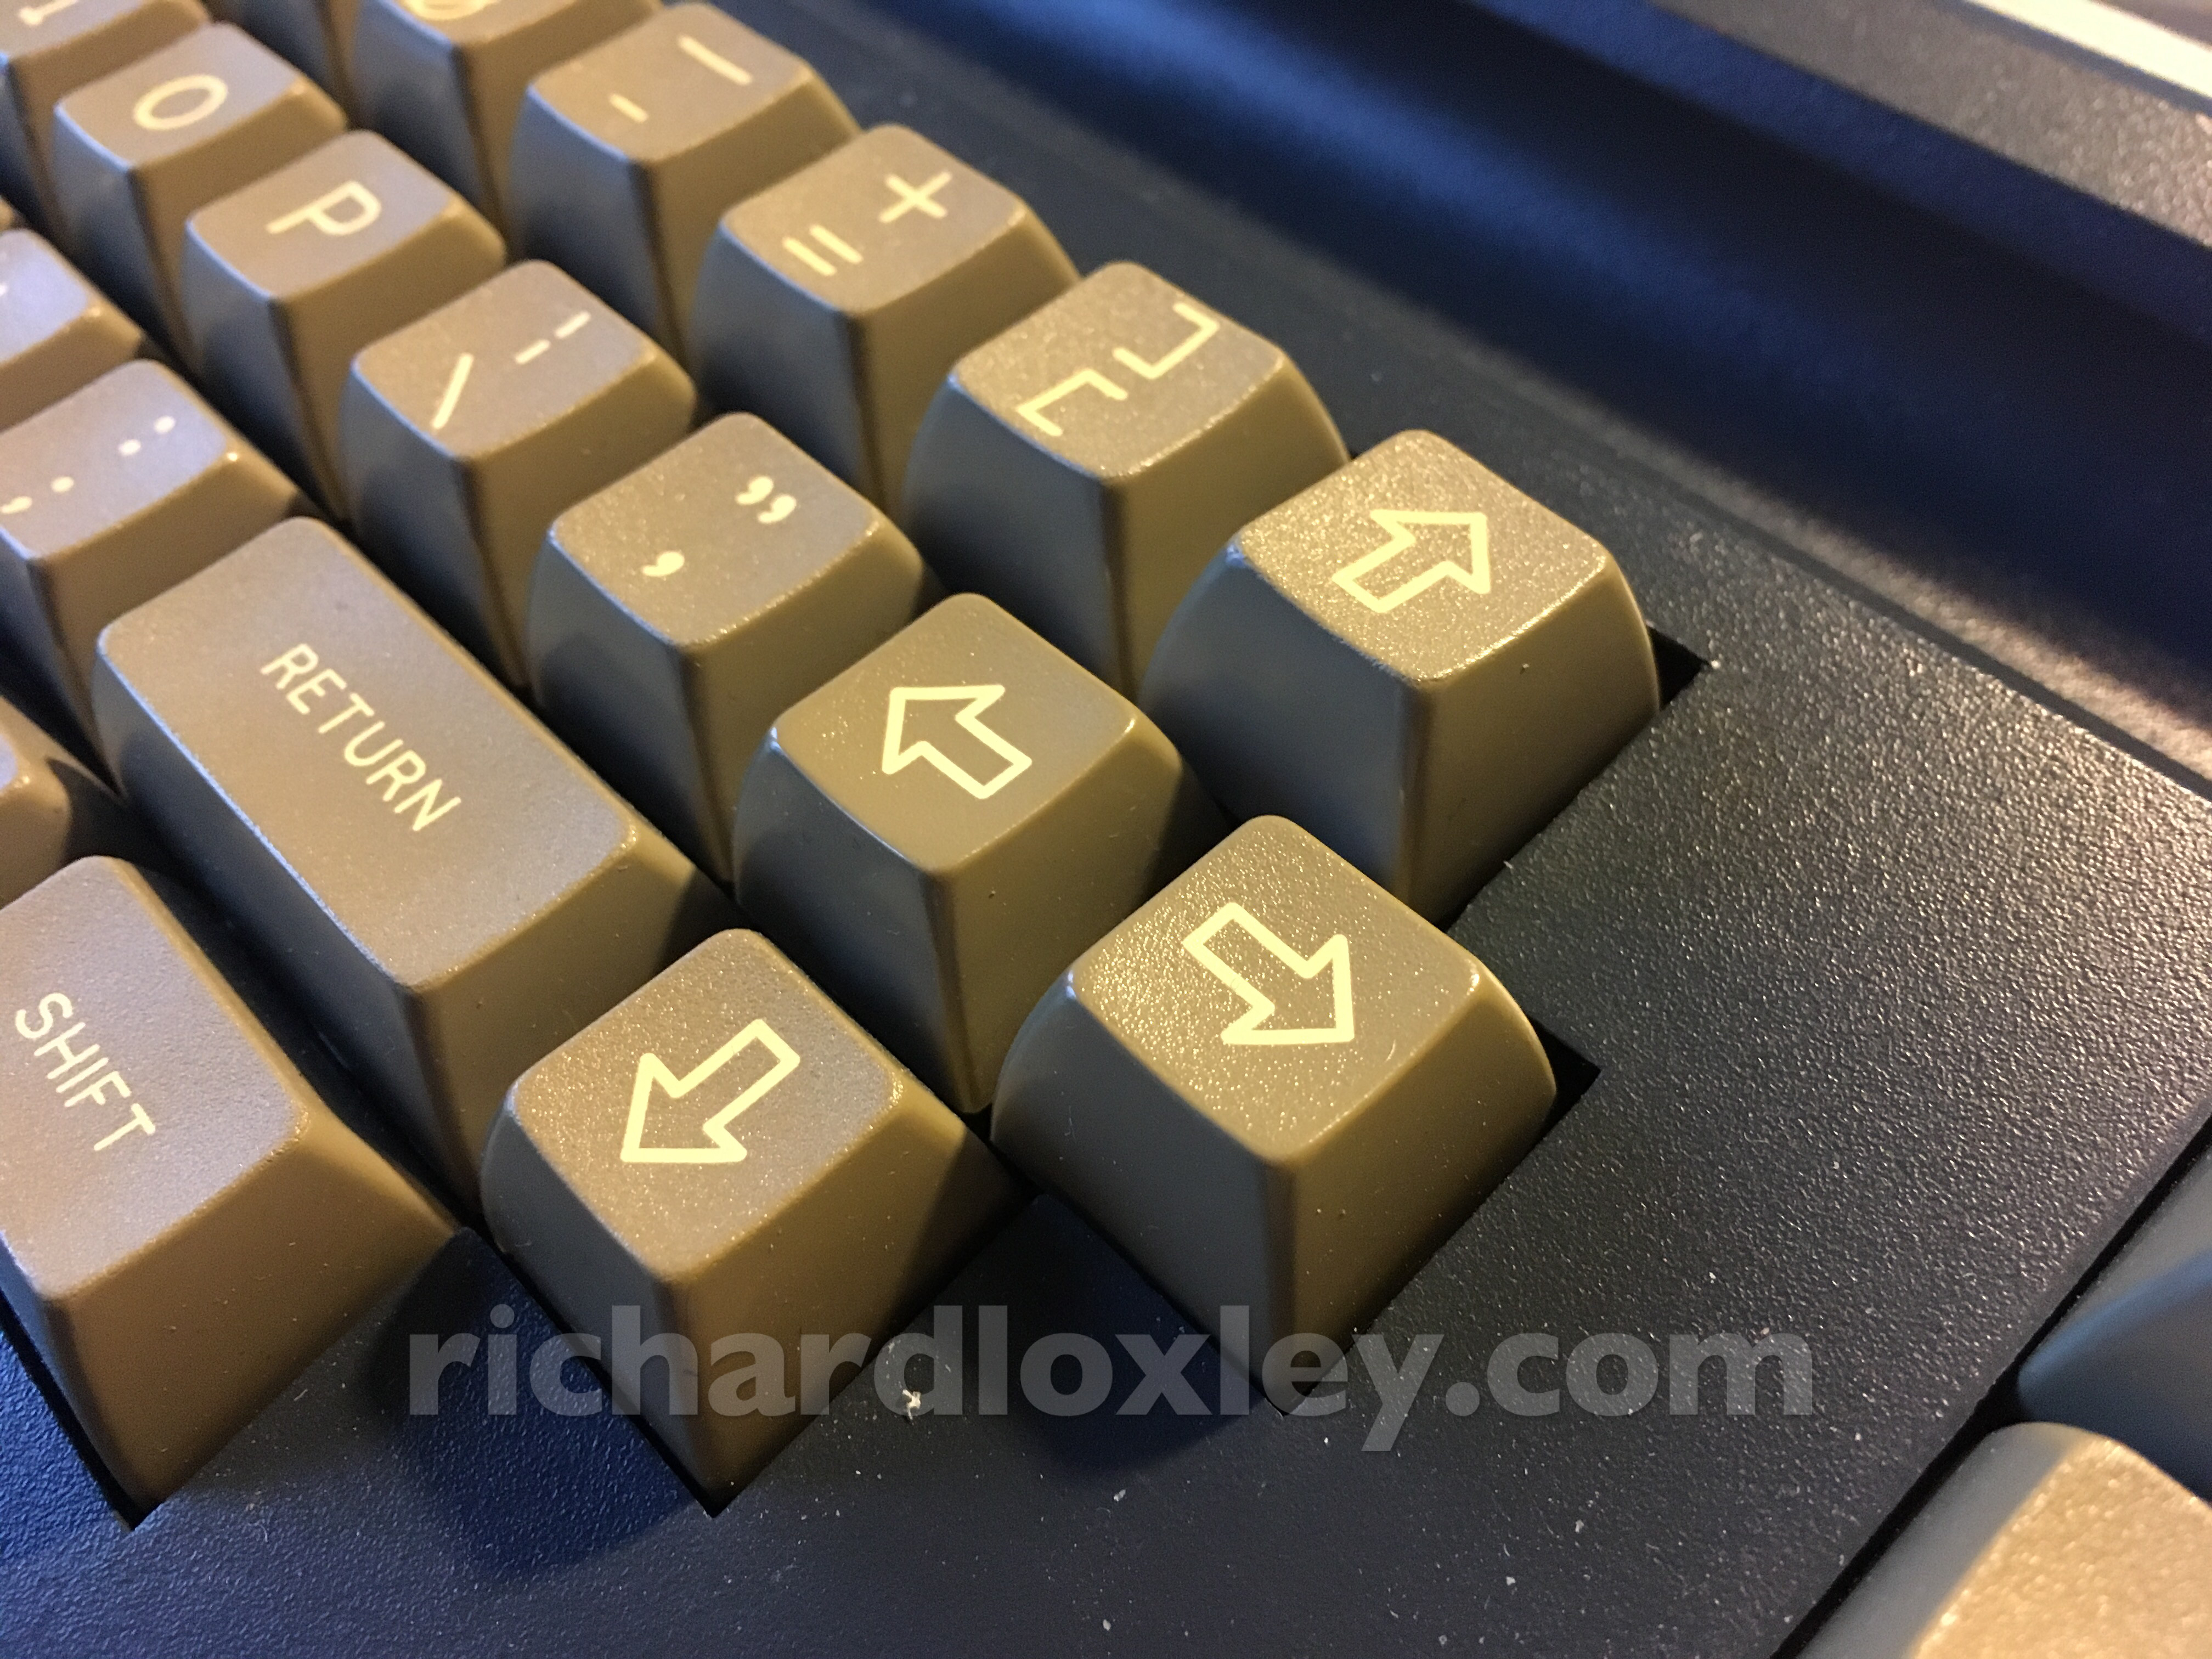
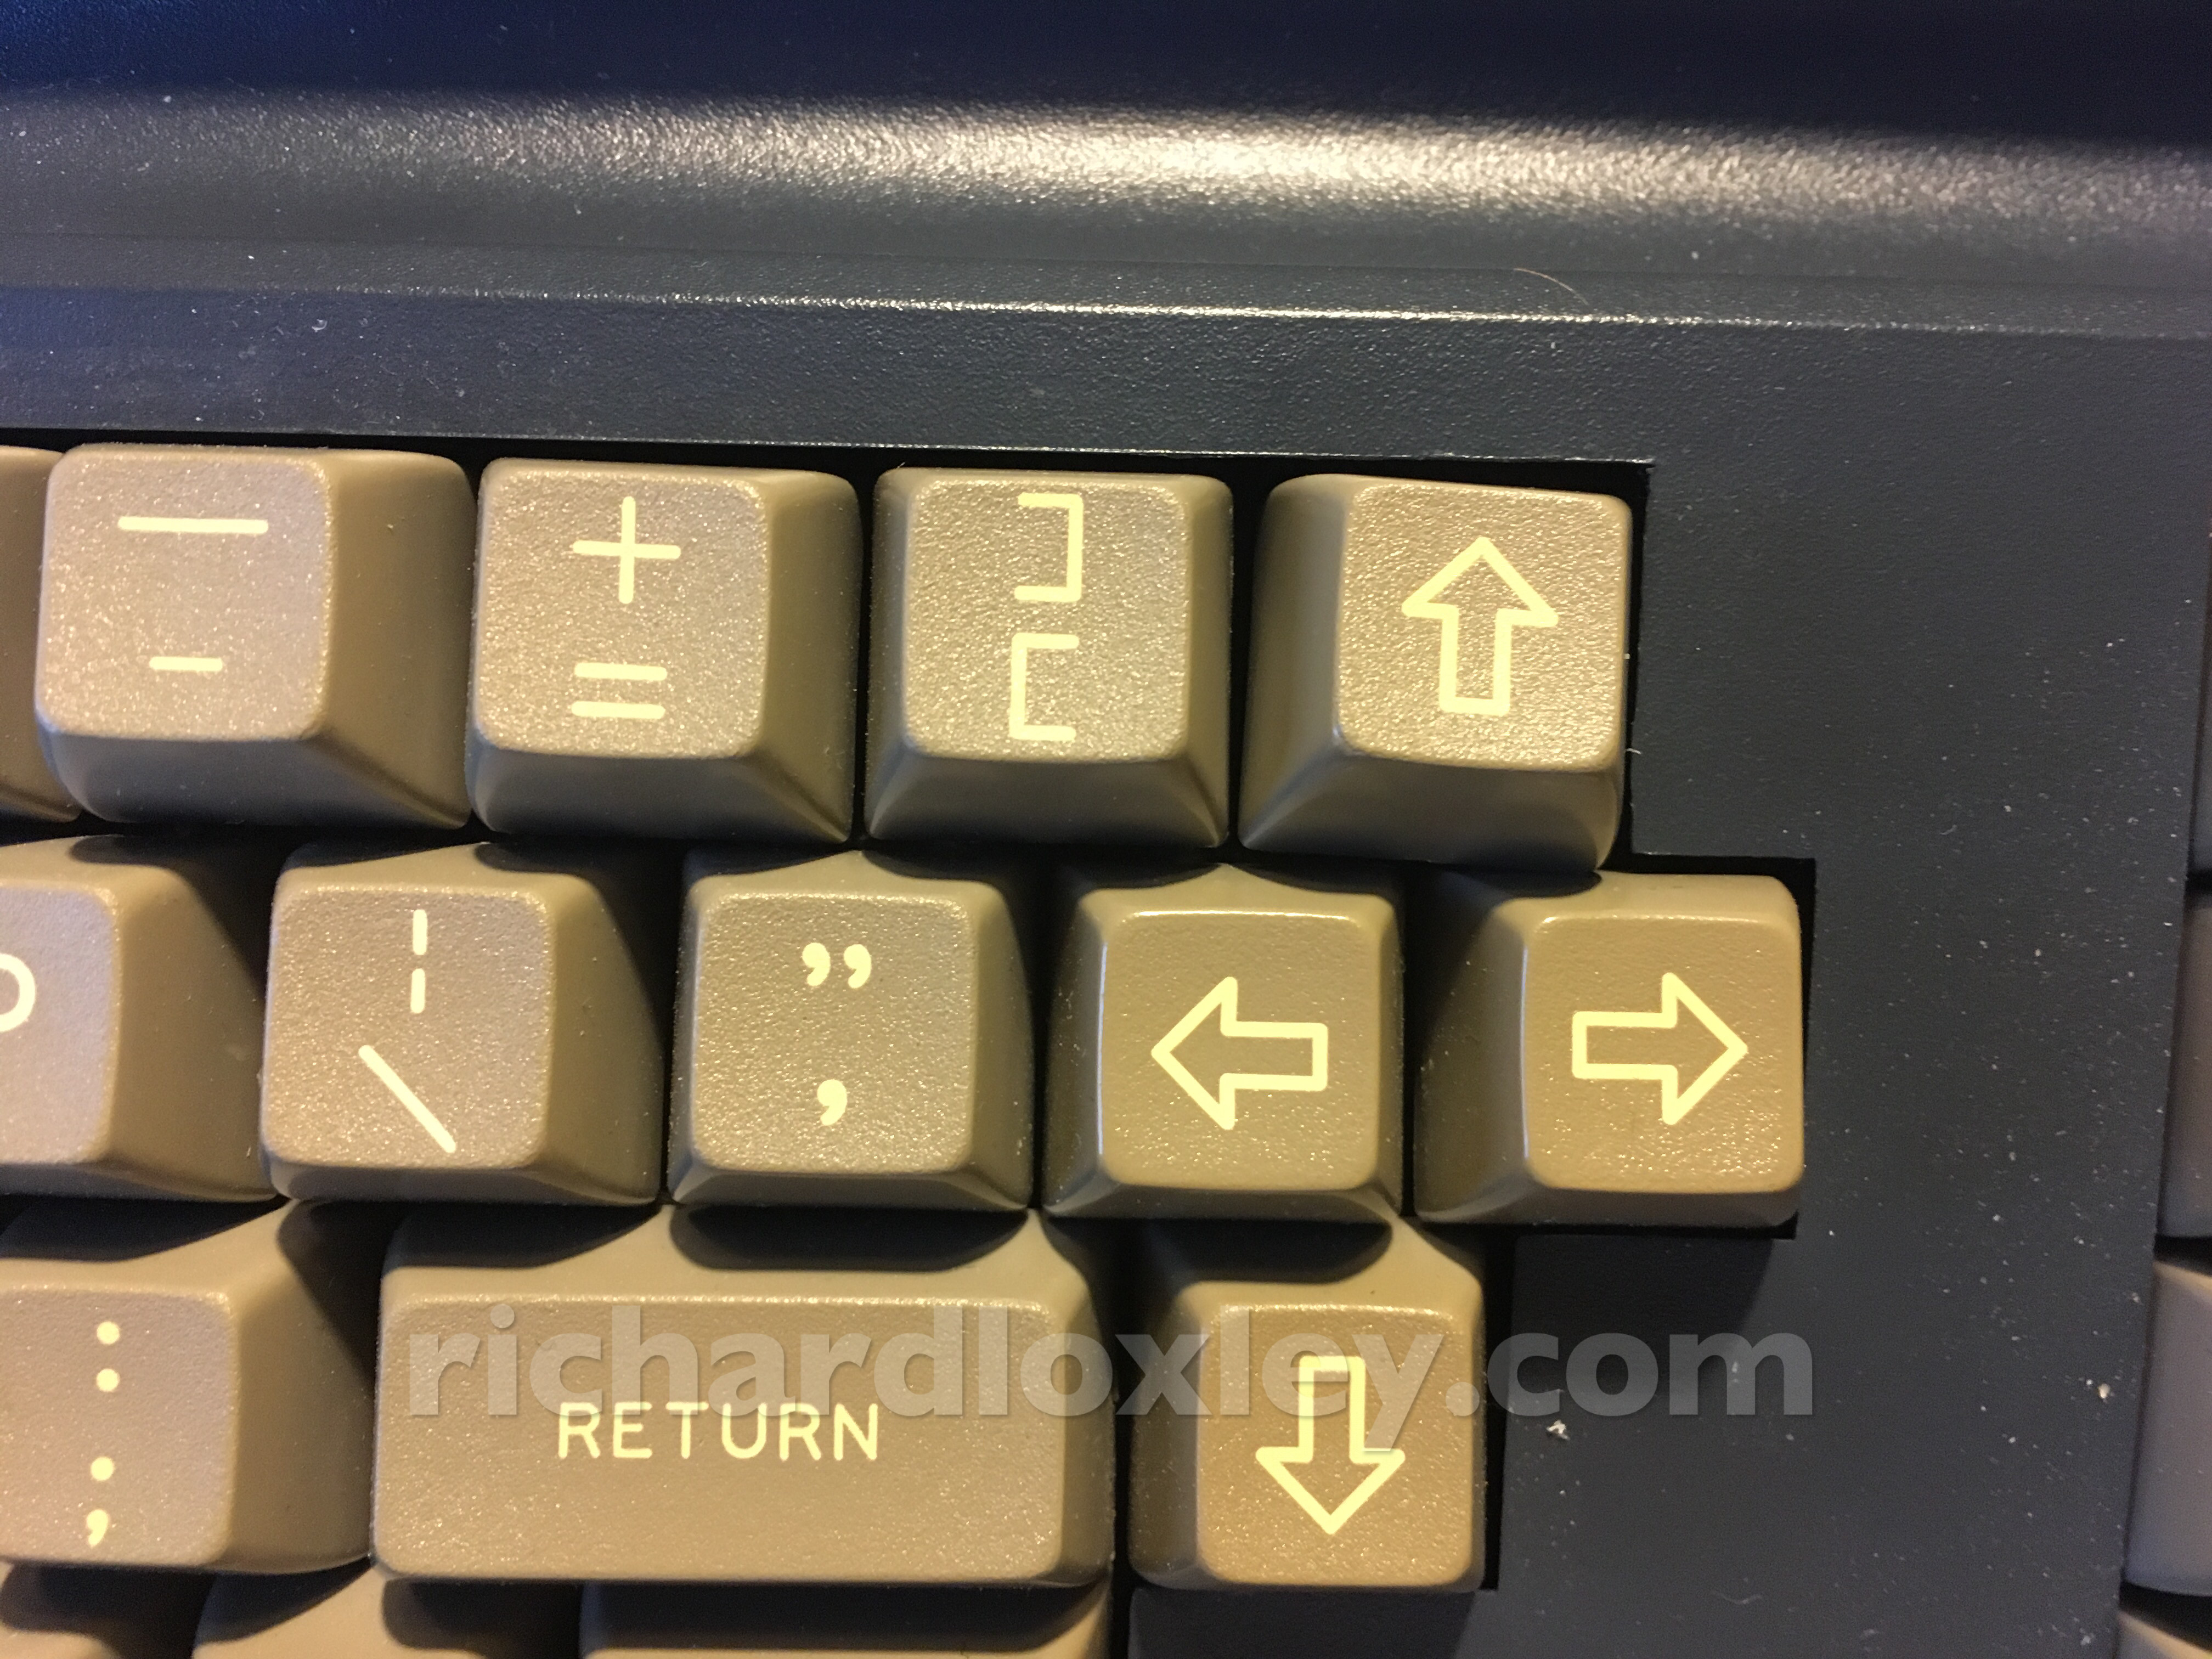
My second Osborne came with a broken off ‘up arrow’ key. At some point someone had attempted a repair with Blu-Tack, but when I received the computer it was just stuck down with tape to keep it from going missing.
Let’s see what I can do.
I have two Osborne computers, and only one is currently working. So it’s tempting to just take the keyboard from the non-working one, and put it with the working one.
But I don’t want to do that for a couple of reasons:
- the non-working computer has much more yellowing on the case, so the keyboard doesn’t match the working one
- I hope to repair the non-working one eventually, so would like to have two fully working keyboards
I could just swap the keyboard mechanisms within the keyboard cases to solve the first issue, but even the key-caps on that keyboard are a bit yellowed. Also, fixing things is what I do, so let’s plough on and hopefully solve the second issue.
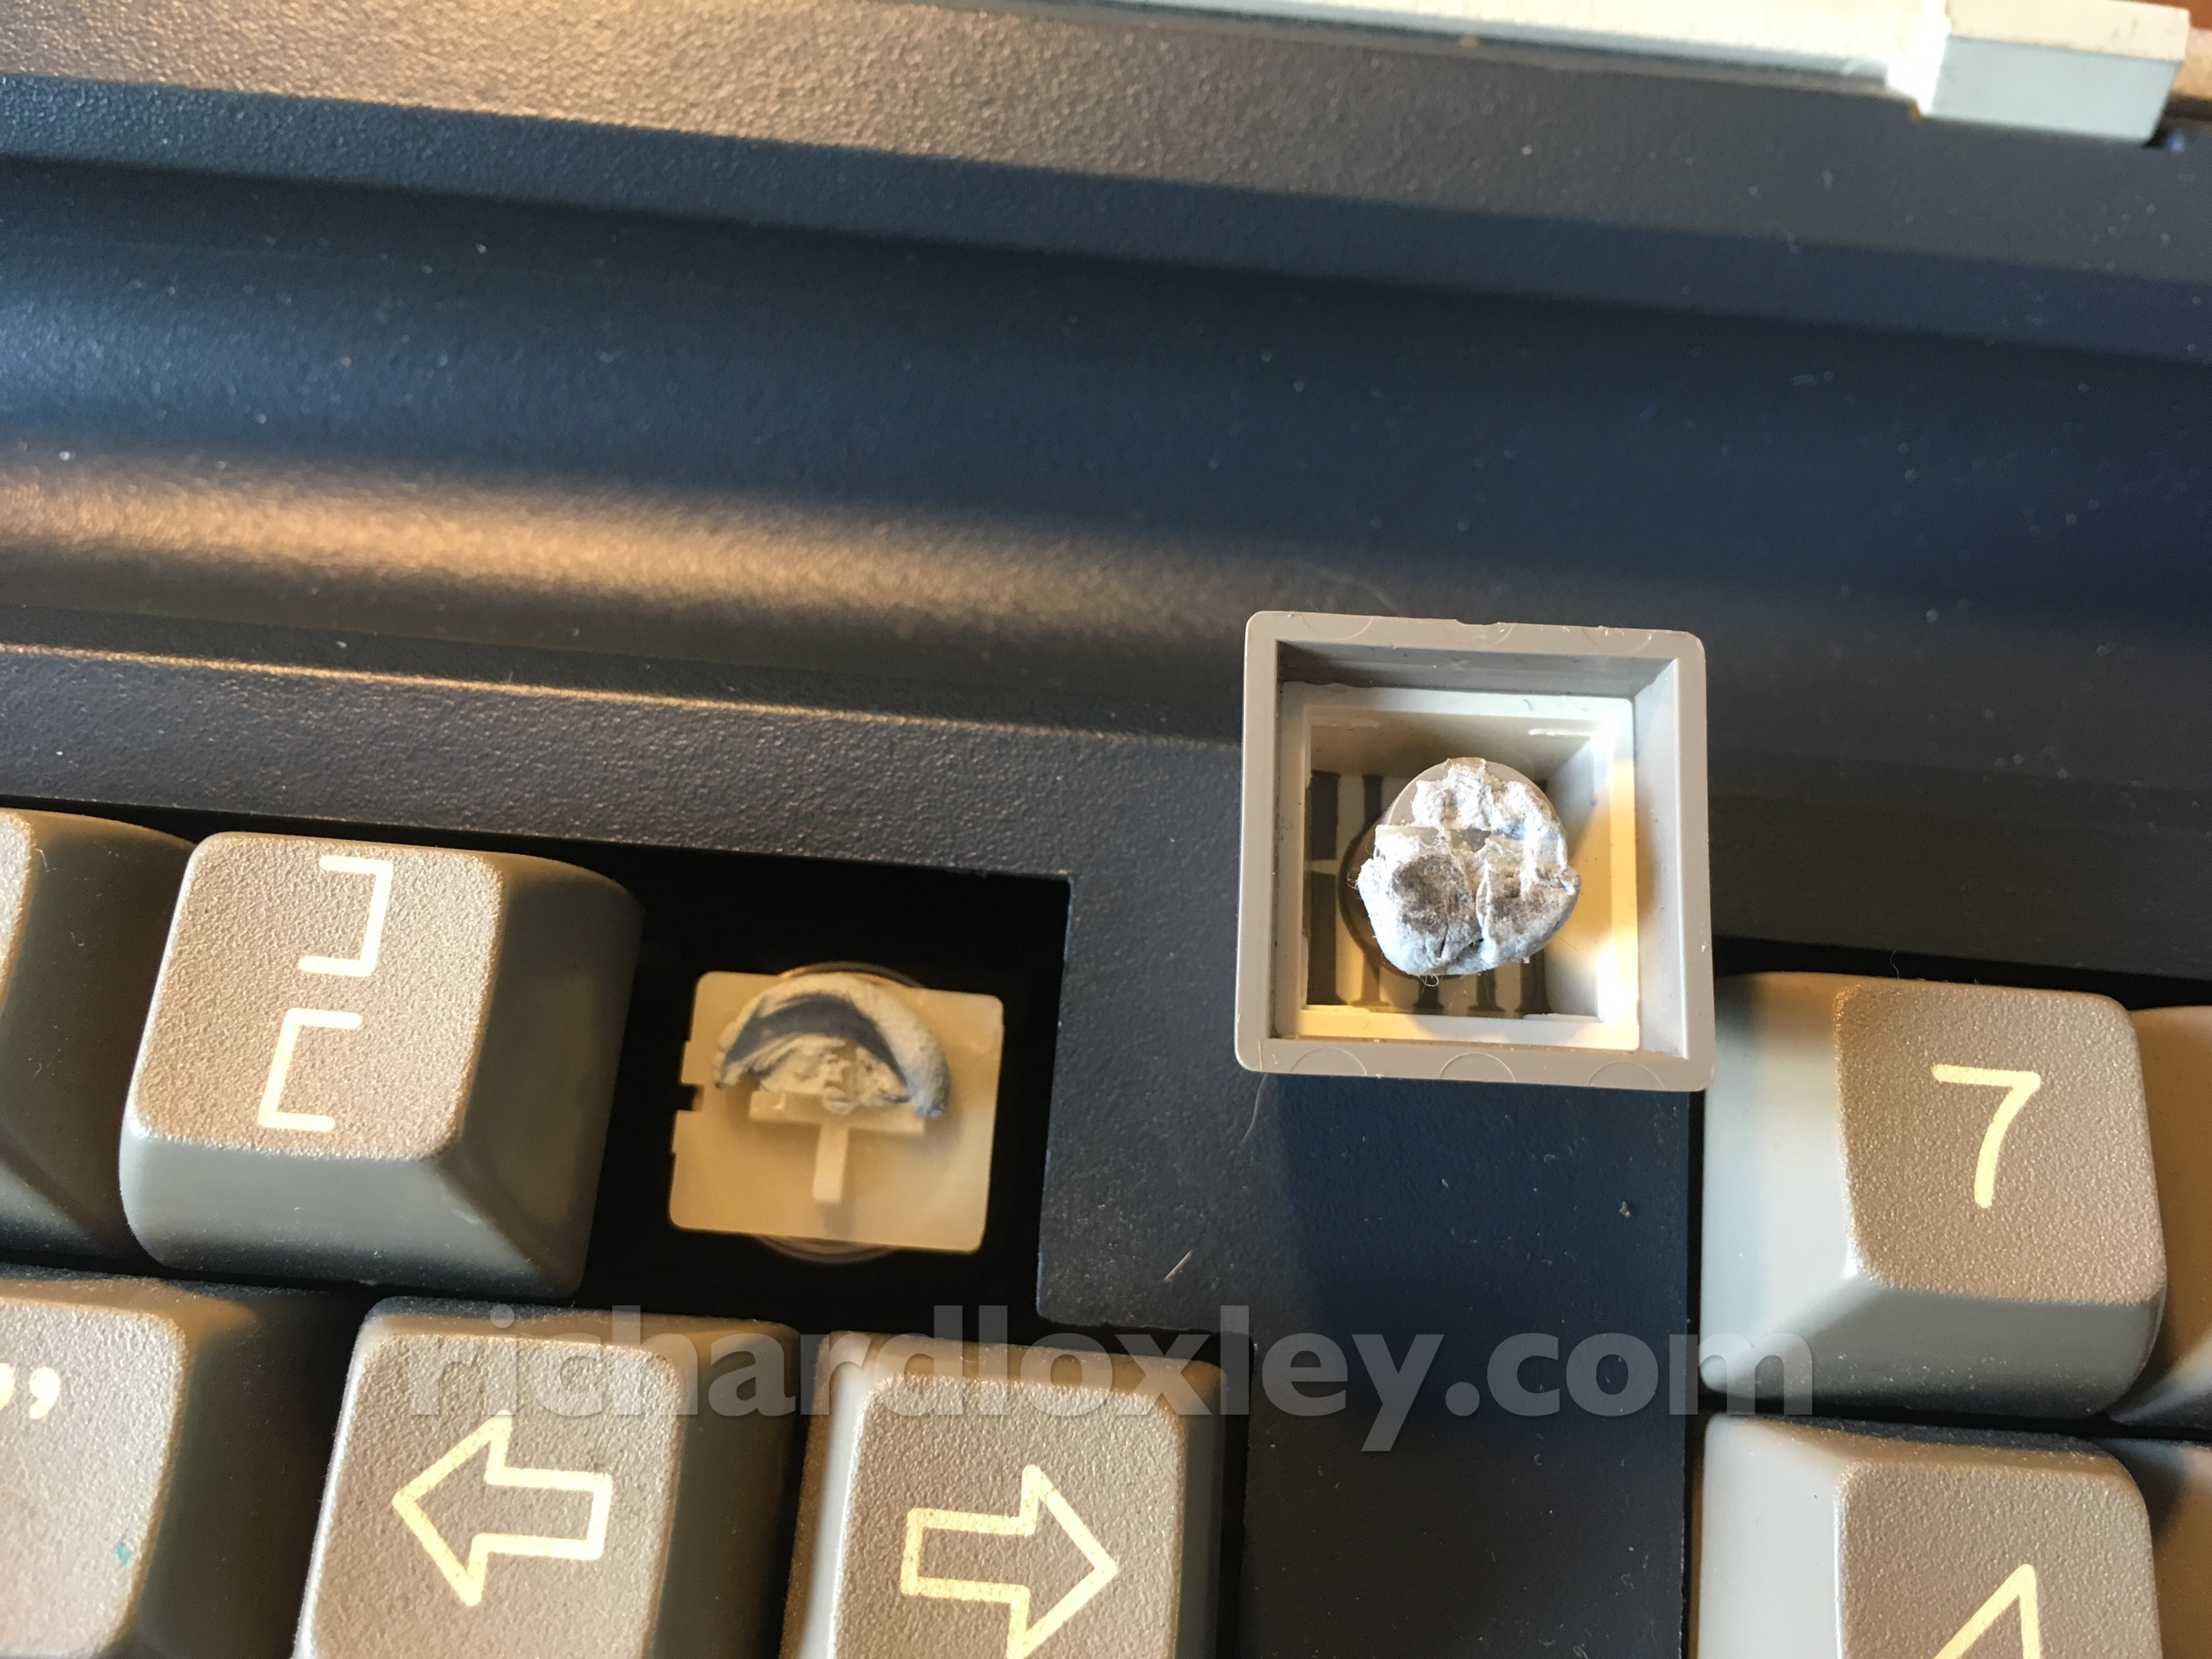
It seems the key-cap is loose, and a bit of the plunger beneath has broken off in it. Nevertheless I try using my trusty key-cap puller to pull out what remains of the plunger:
It doesn’t want to budge, and I don’t want to force it, in case that’s not how it’s removed on this model of keyboard.
So next I disassemble the keyboard to investigate further.
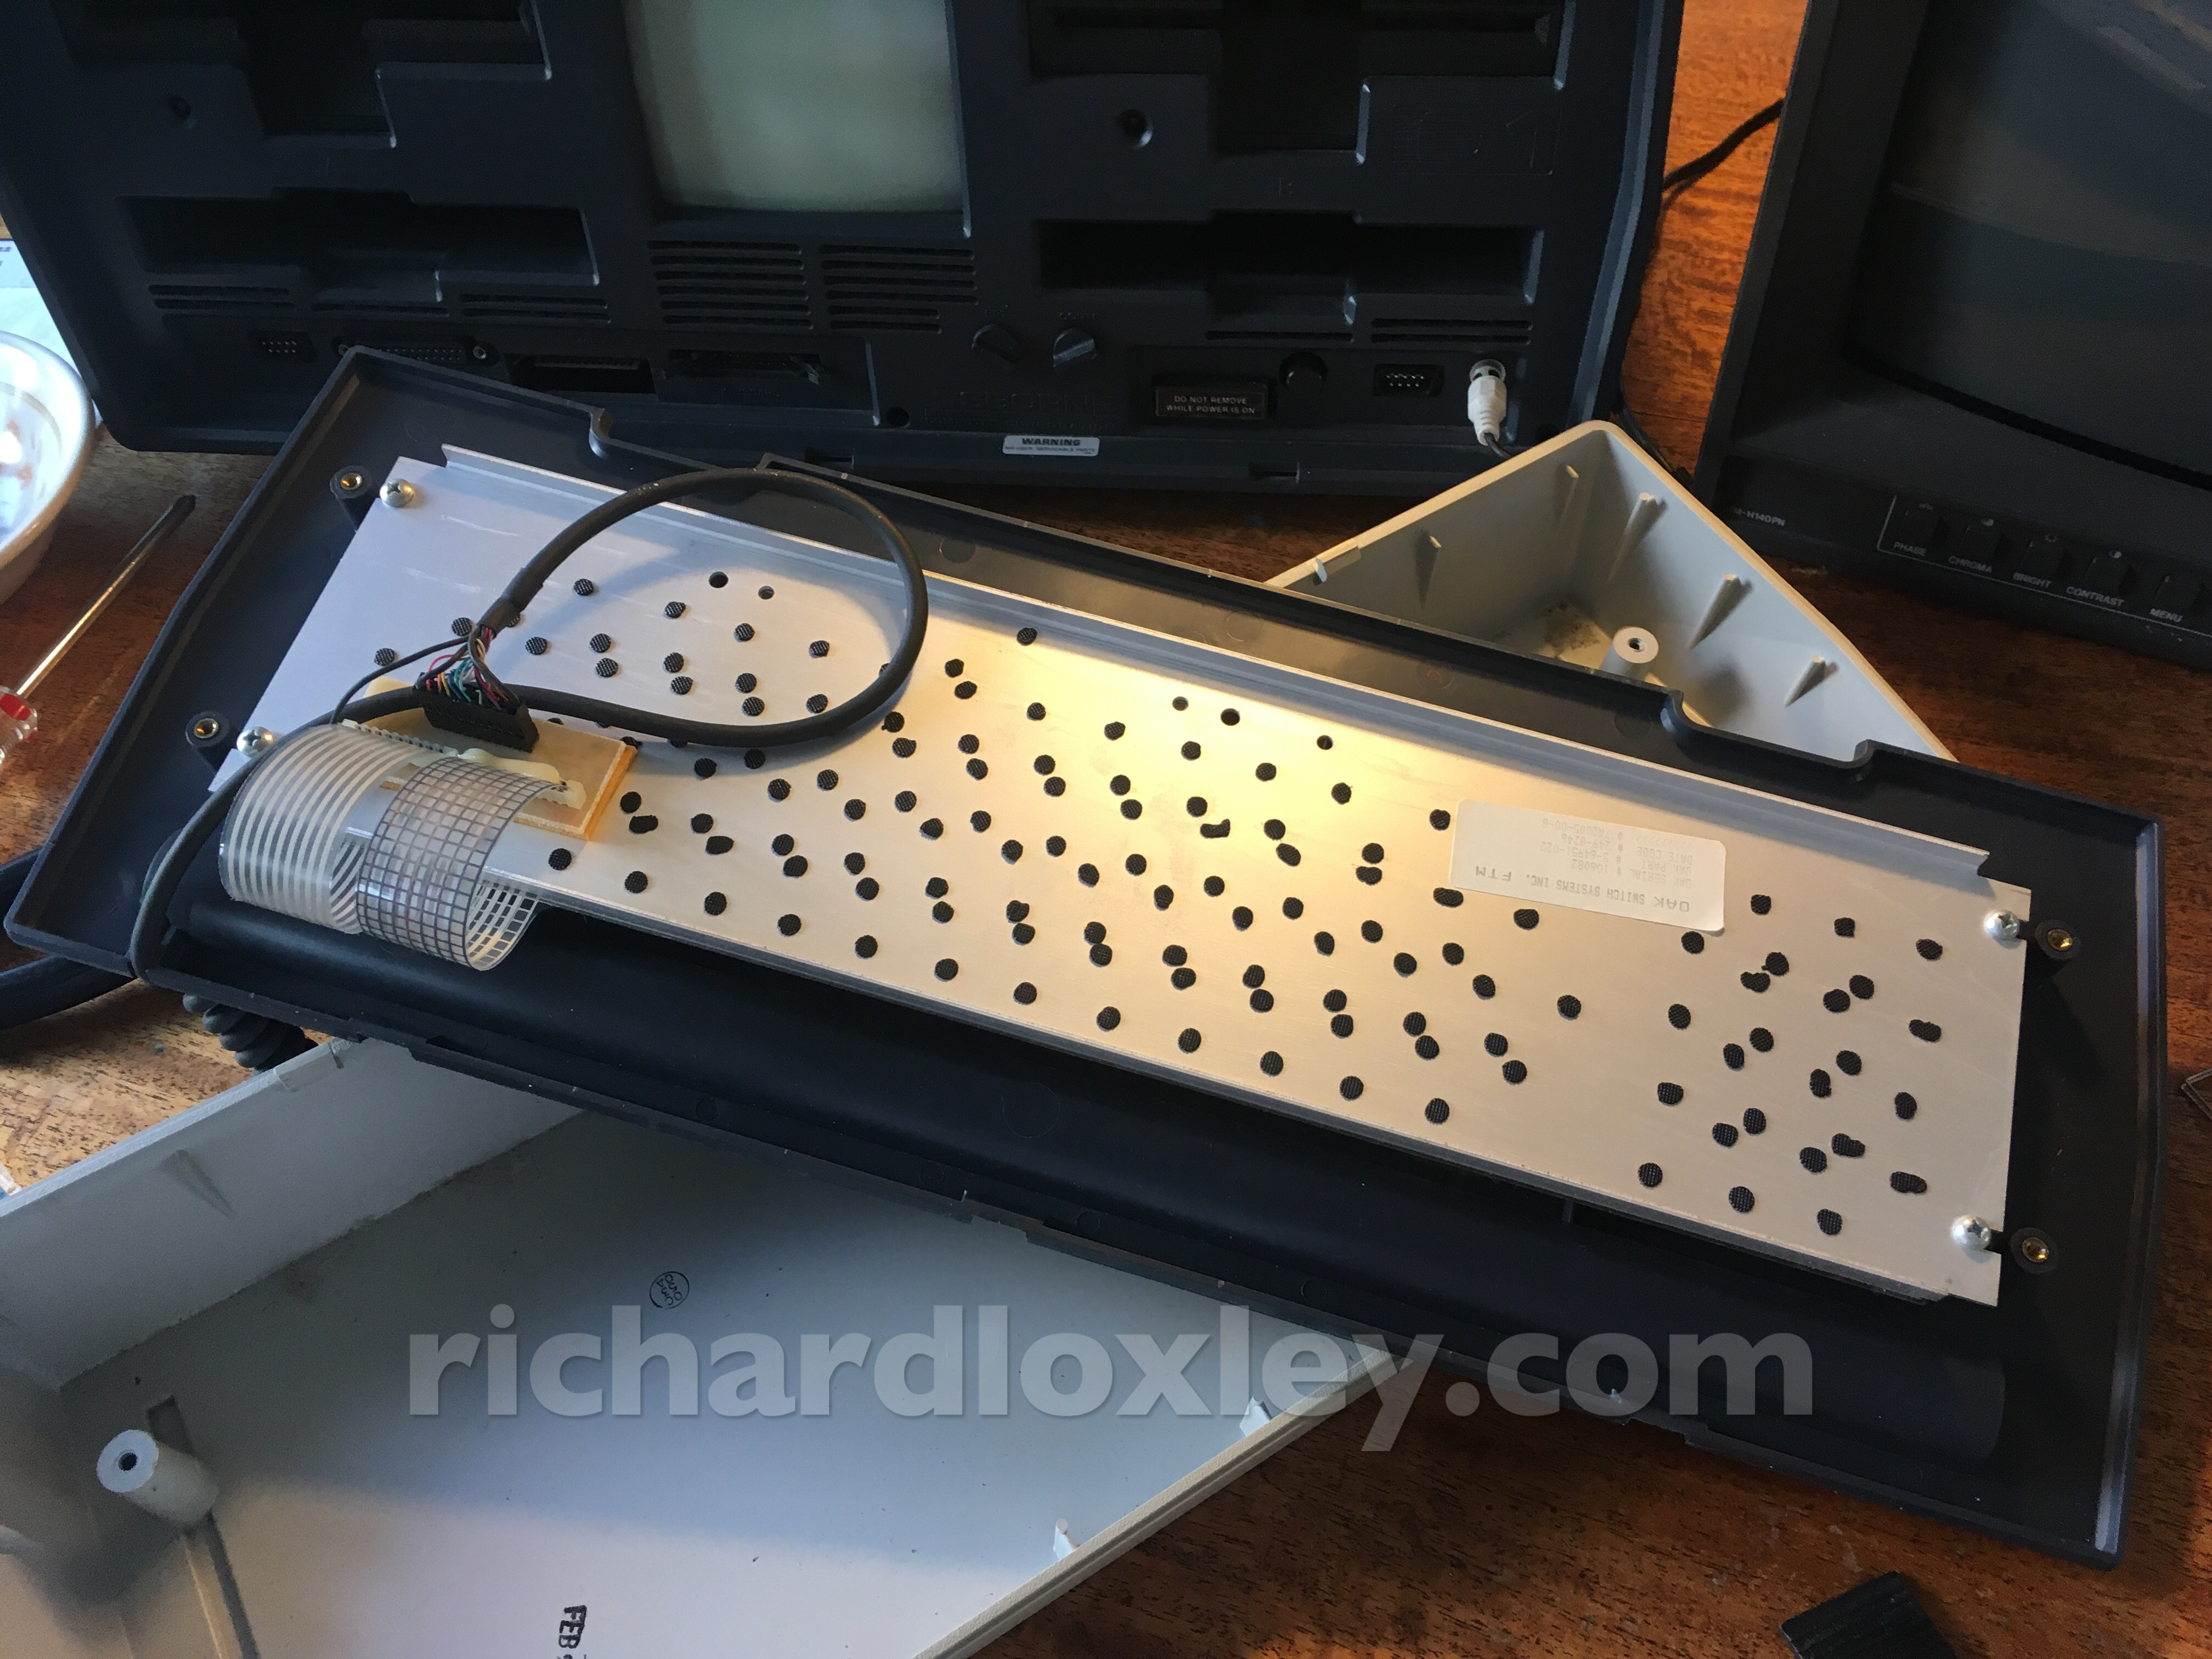
Now that’s interesting. I previously wrote about how this keyboard had a shorter lead than the other one. It turns out the lead is just as long, it’s just got more cable coiled up inside!

I wonder if that was accidental, or if someone deliberately pushed more of the cable back inside the case to make it shorter so it didn’t get trapped so easily when closing the case?
When I reassembled it I tried both options, and decided I preferred it shorter :-)
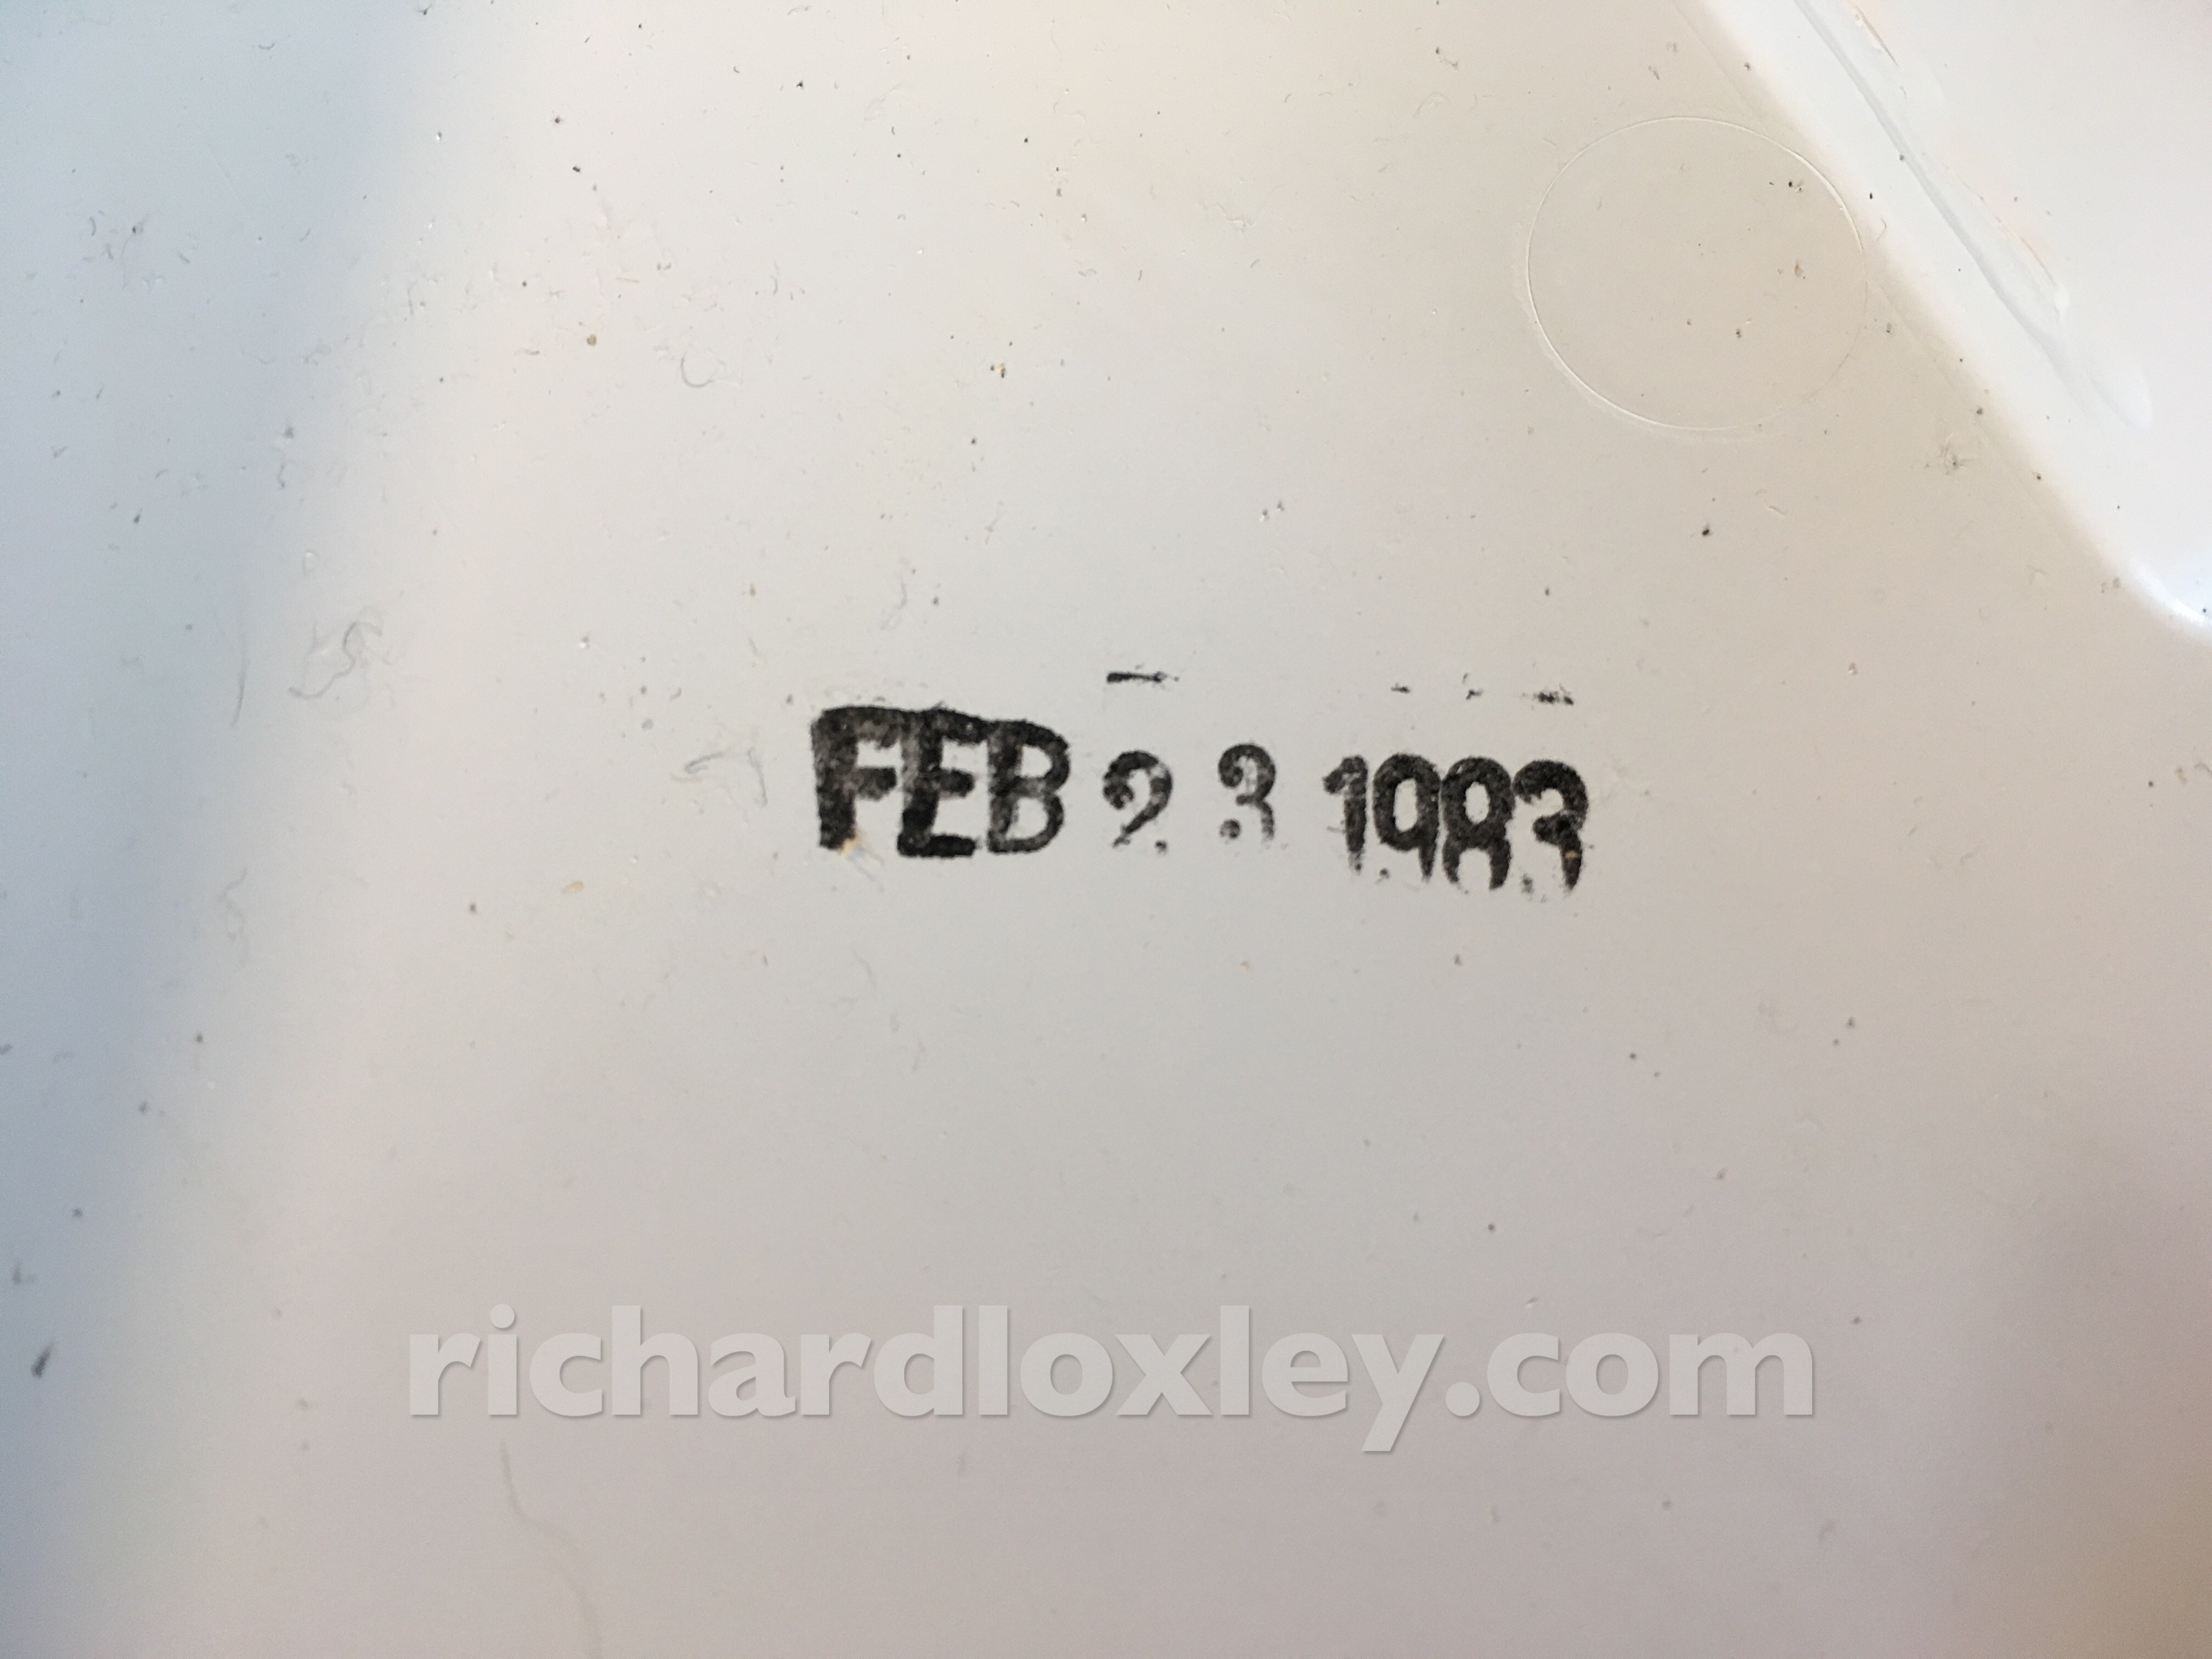
Inside is a manufacture (or assembly) date: Feb 23 1983.
Although it also has a sticker with a ‘date code’ of 249-8248. 48th week of 1982 perhaps?
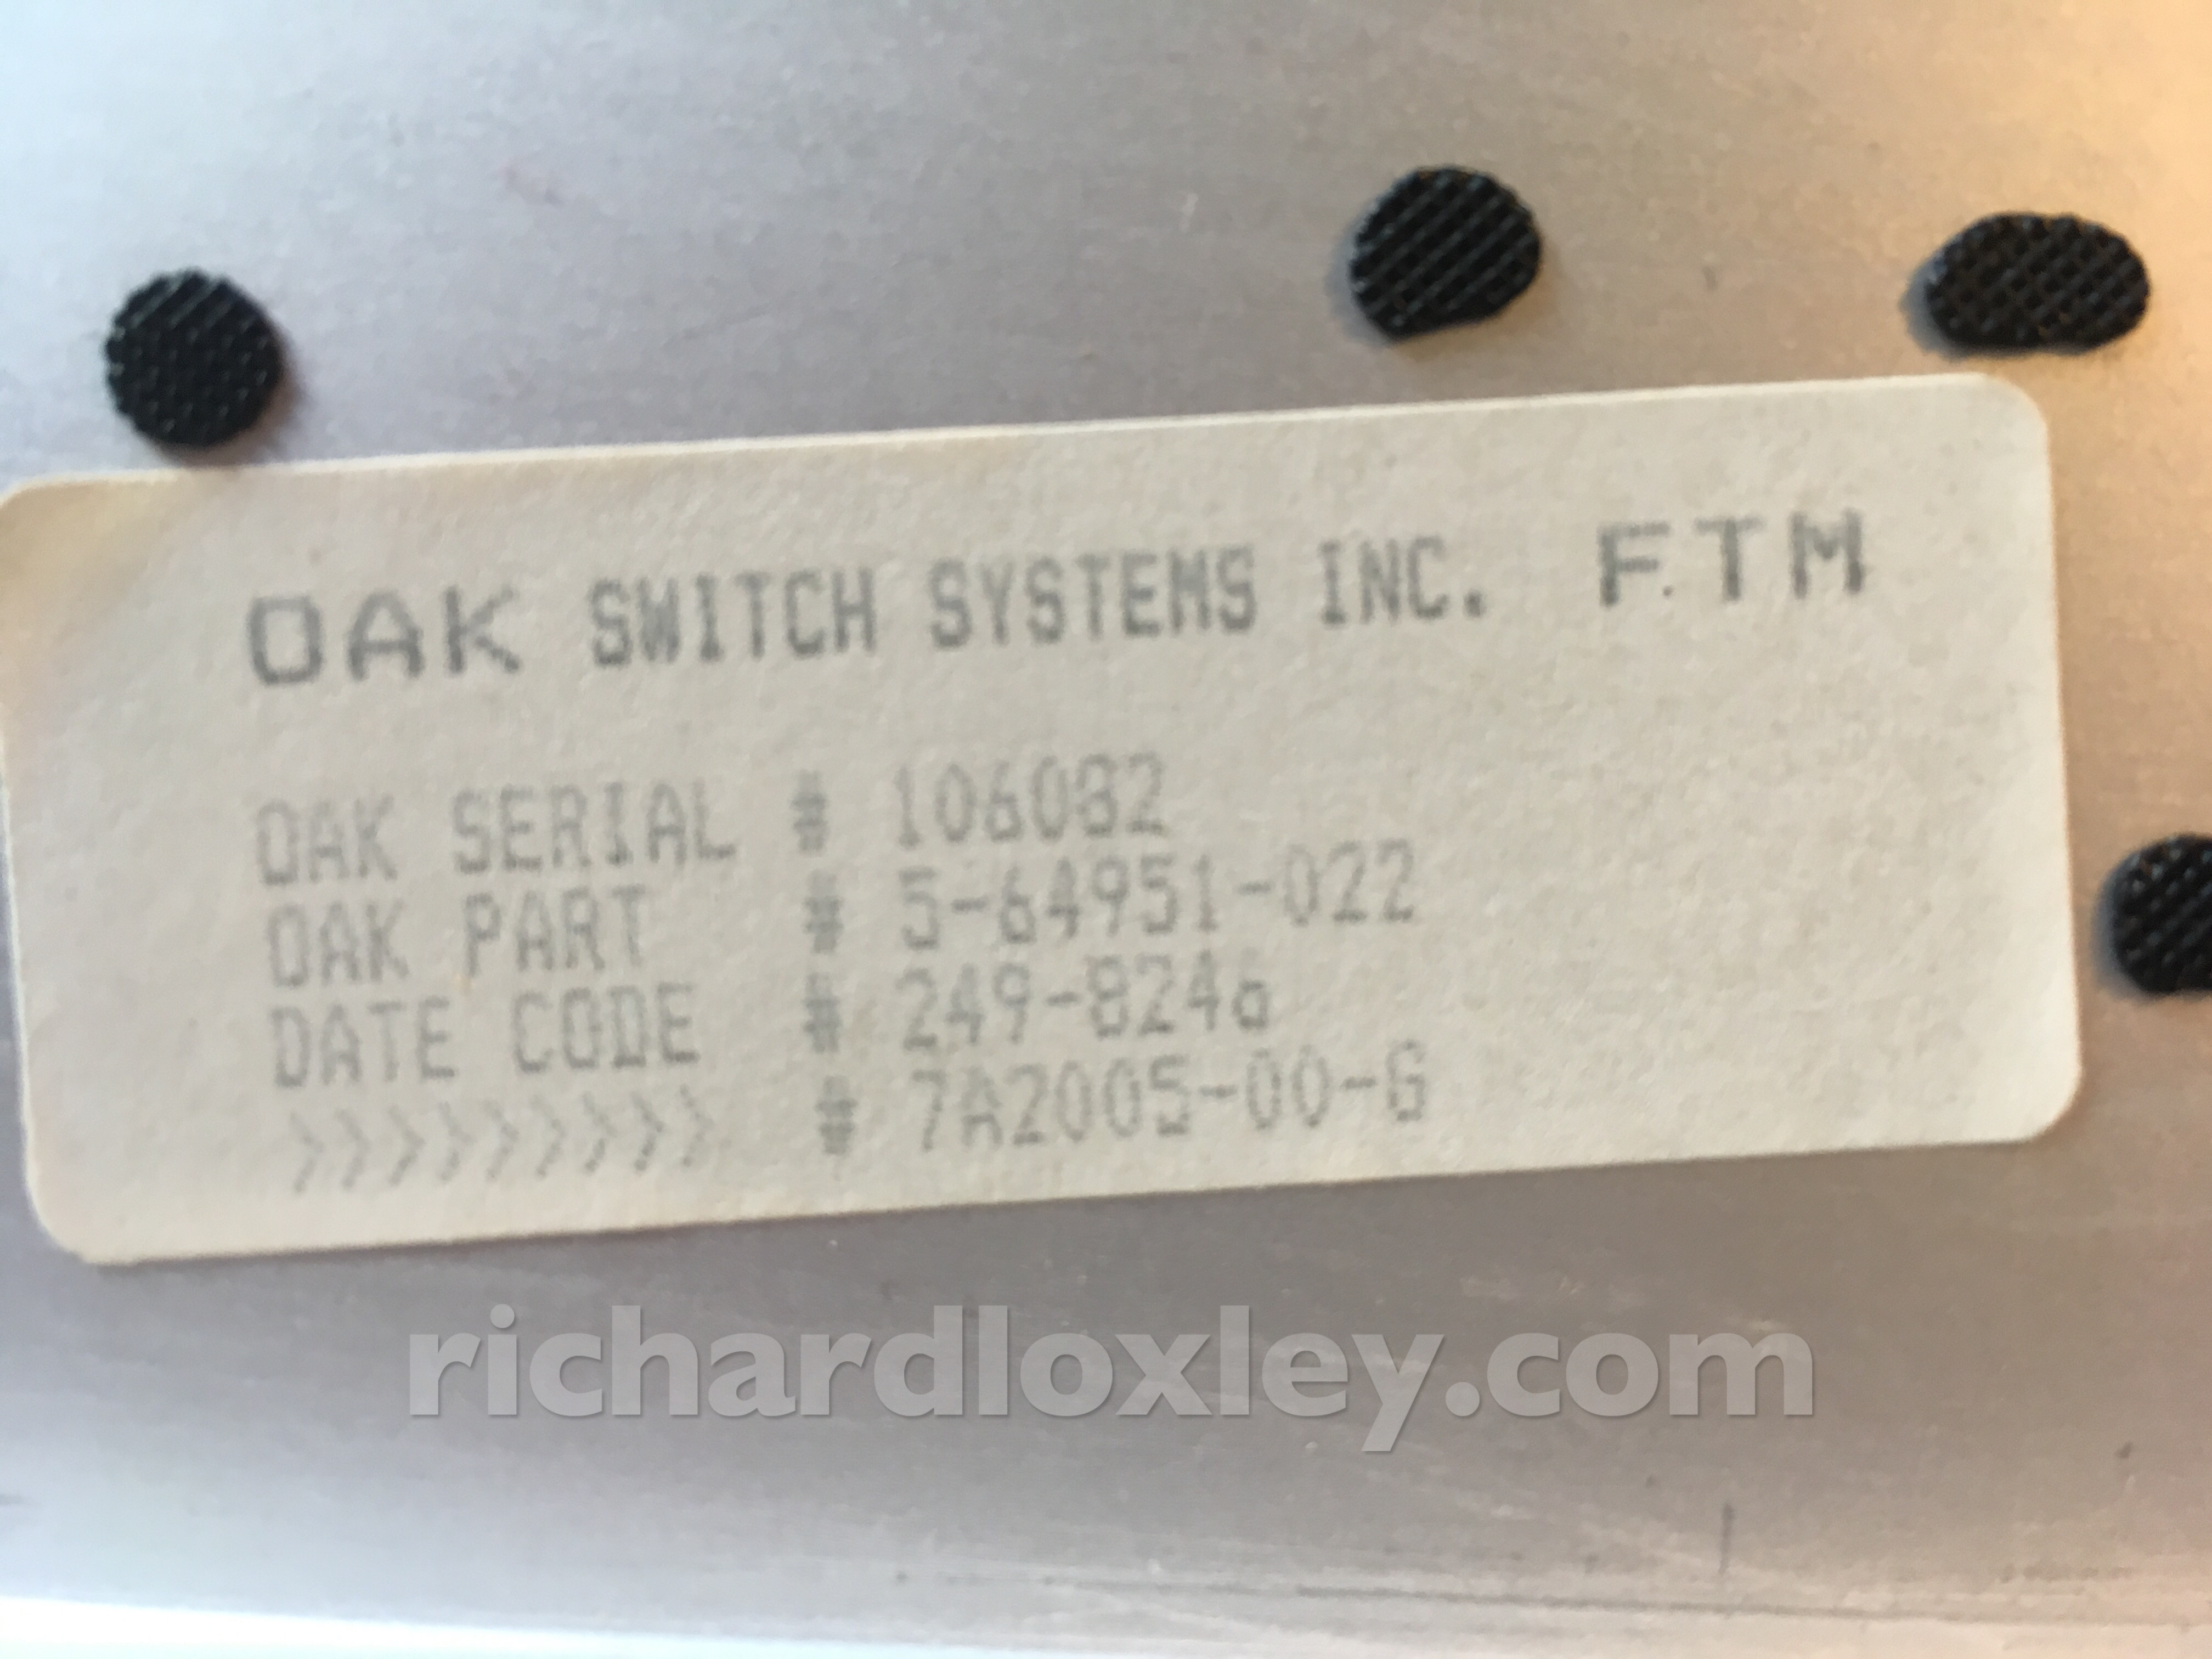
That also tells us the manufactuer of the keyboard mechanism: Oak Switch Systems Inc, and the type is FTM (Full Travel Membrane).
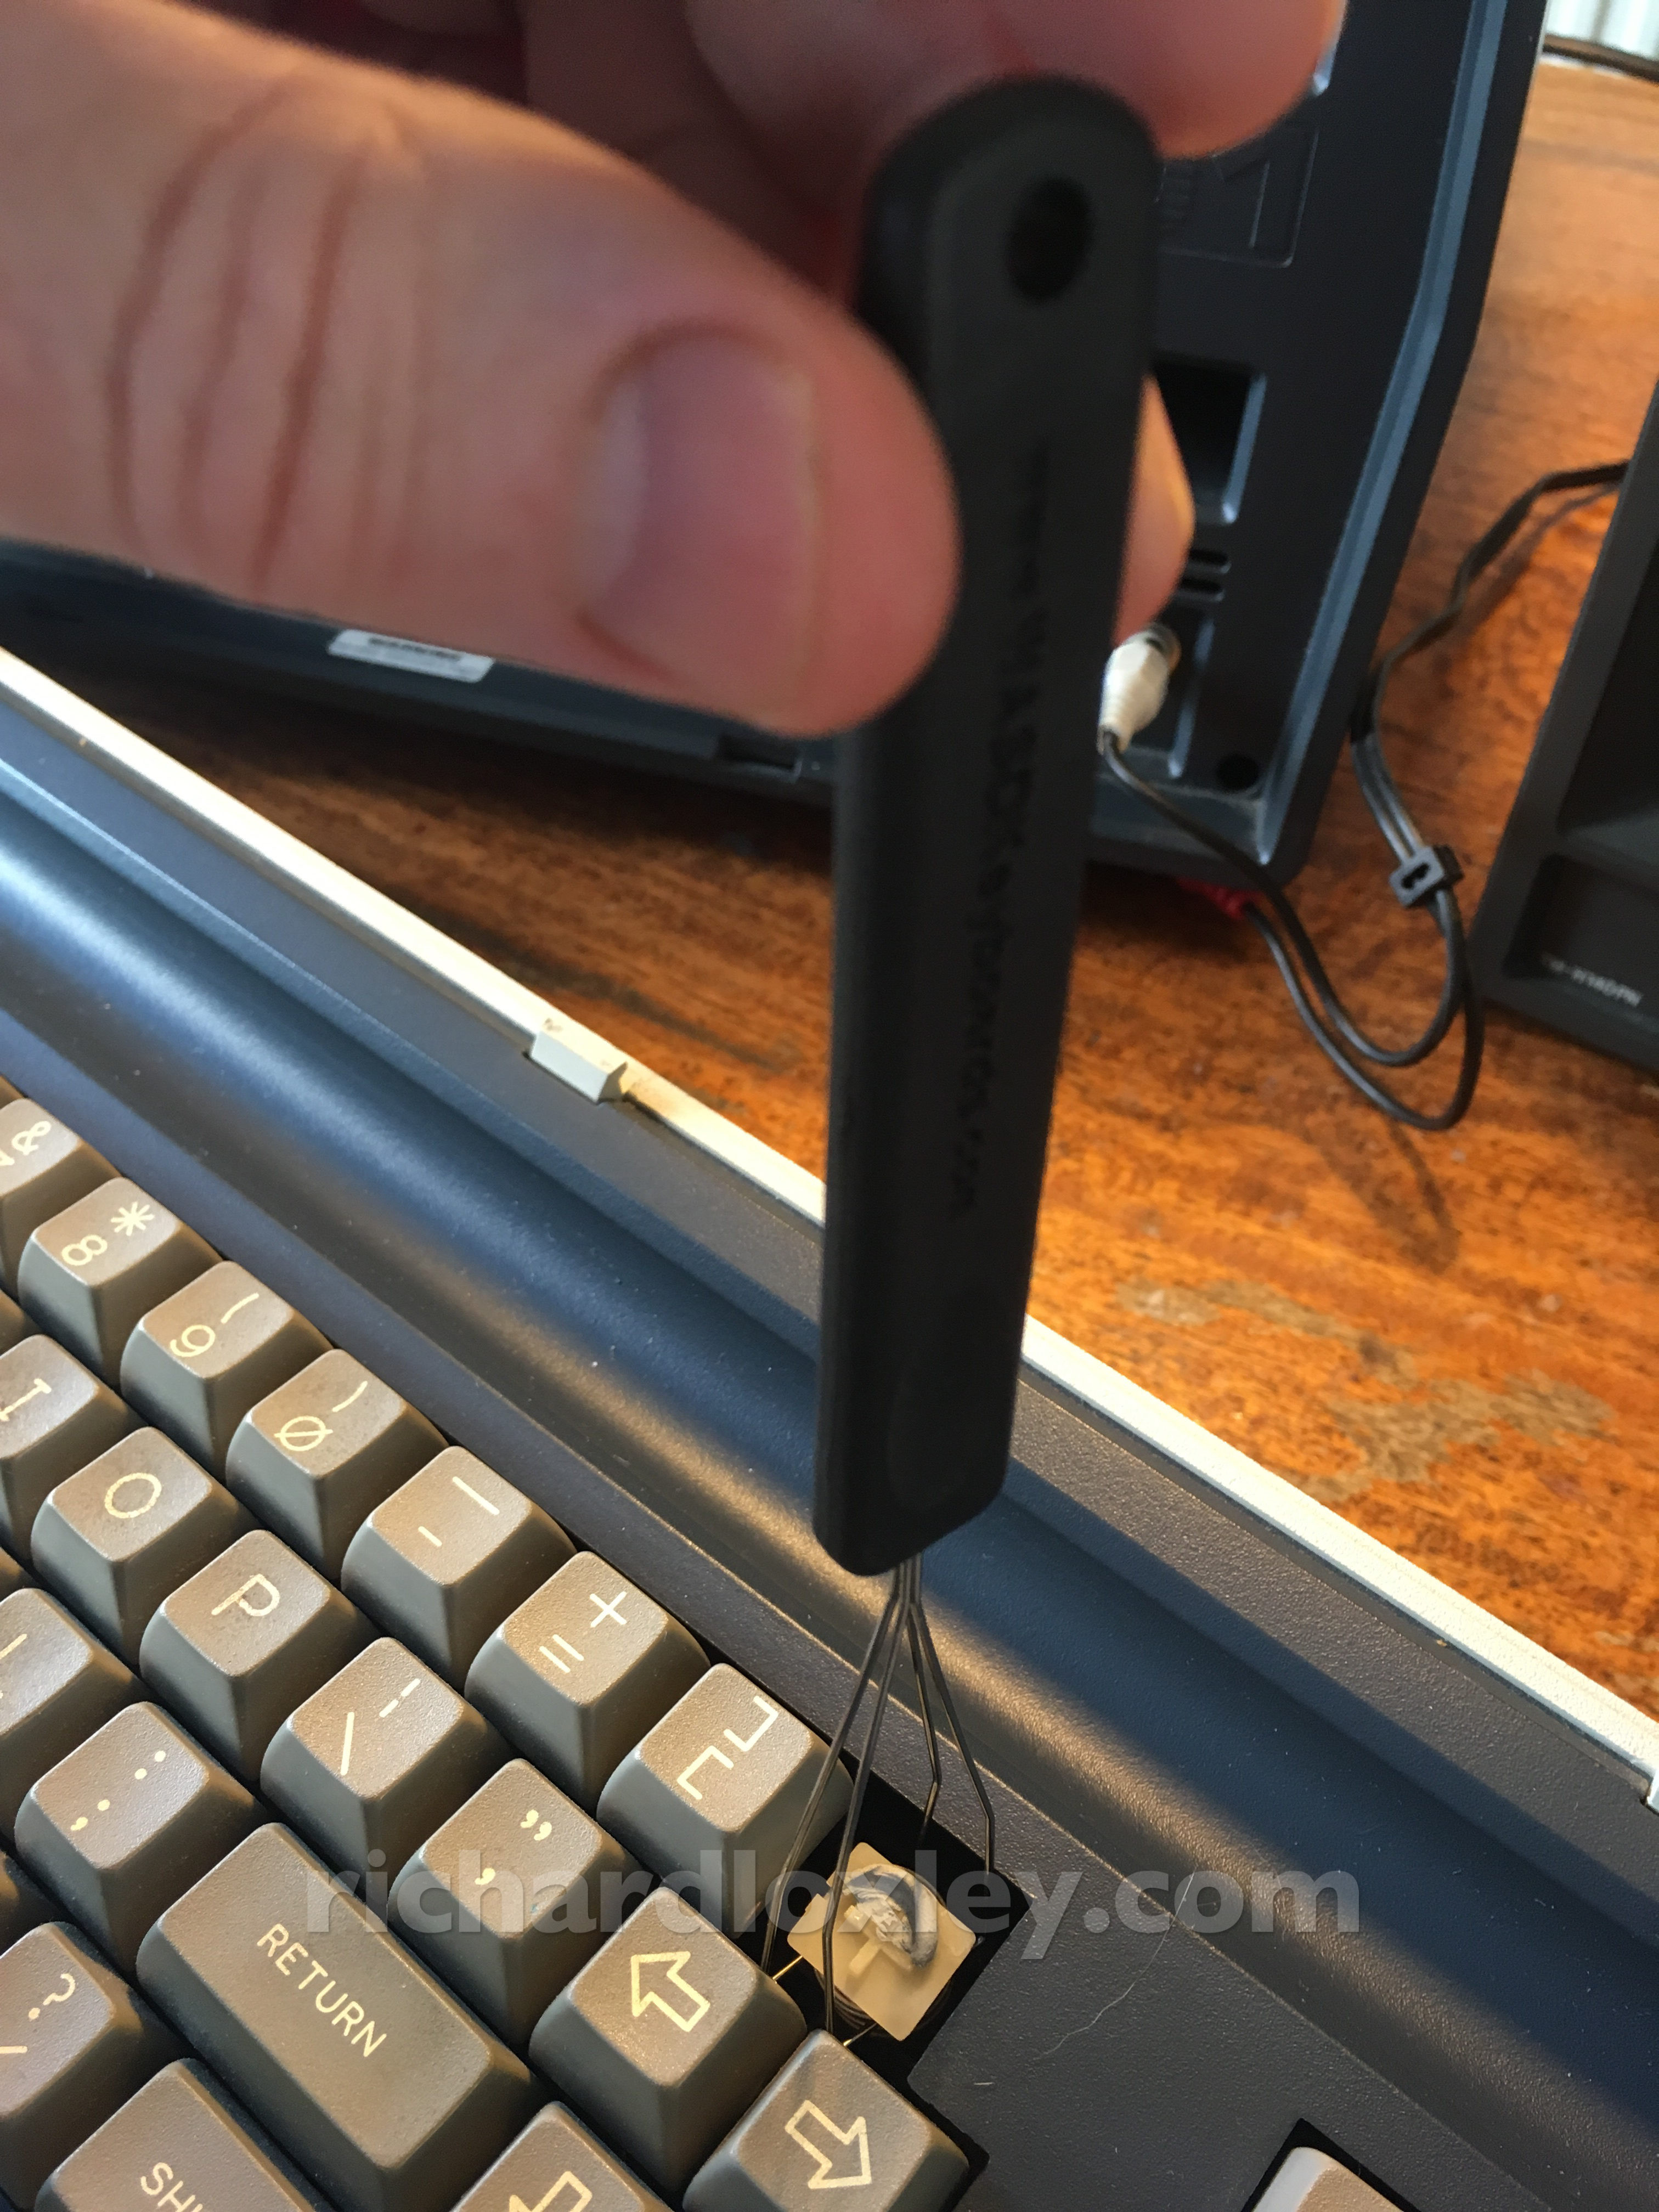
Having inspected several of the key mechanisms from different angles I think the plungers should probably pull out (they are plastic held into a plastic surround with a latching mechanism). So I go for it and give it a good tug with my key-cap puller:

And I then clean up the bits with a jeweller’s screwdriver, and then a cotton bud with alcohol.
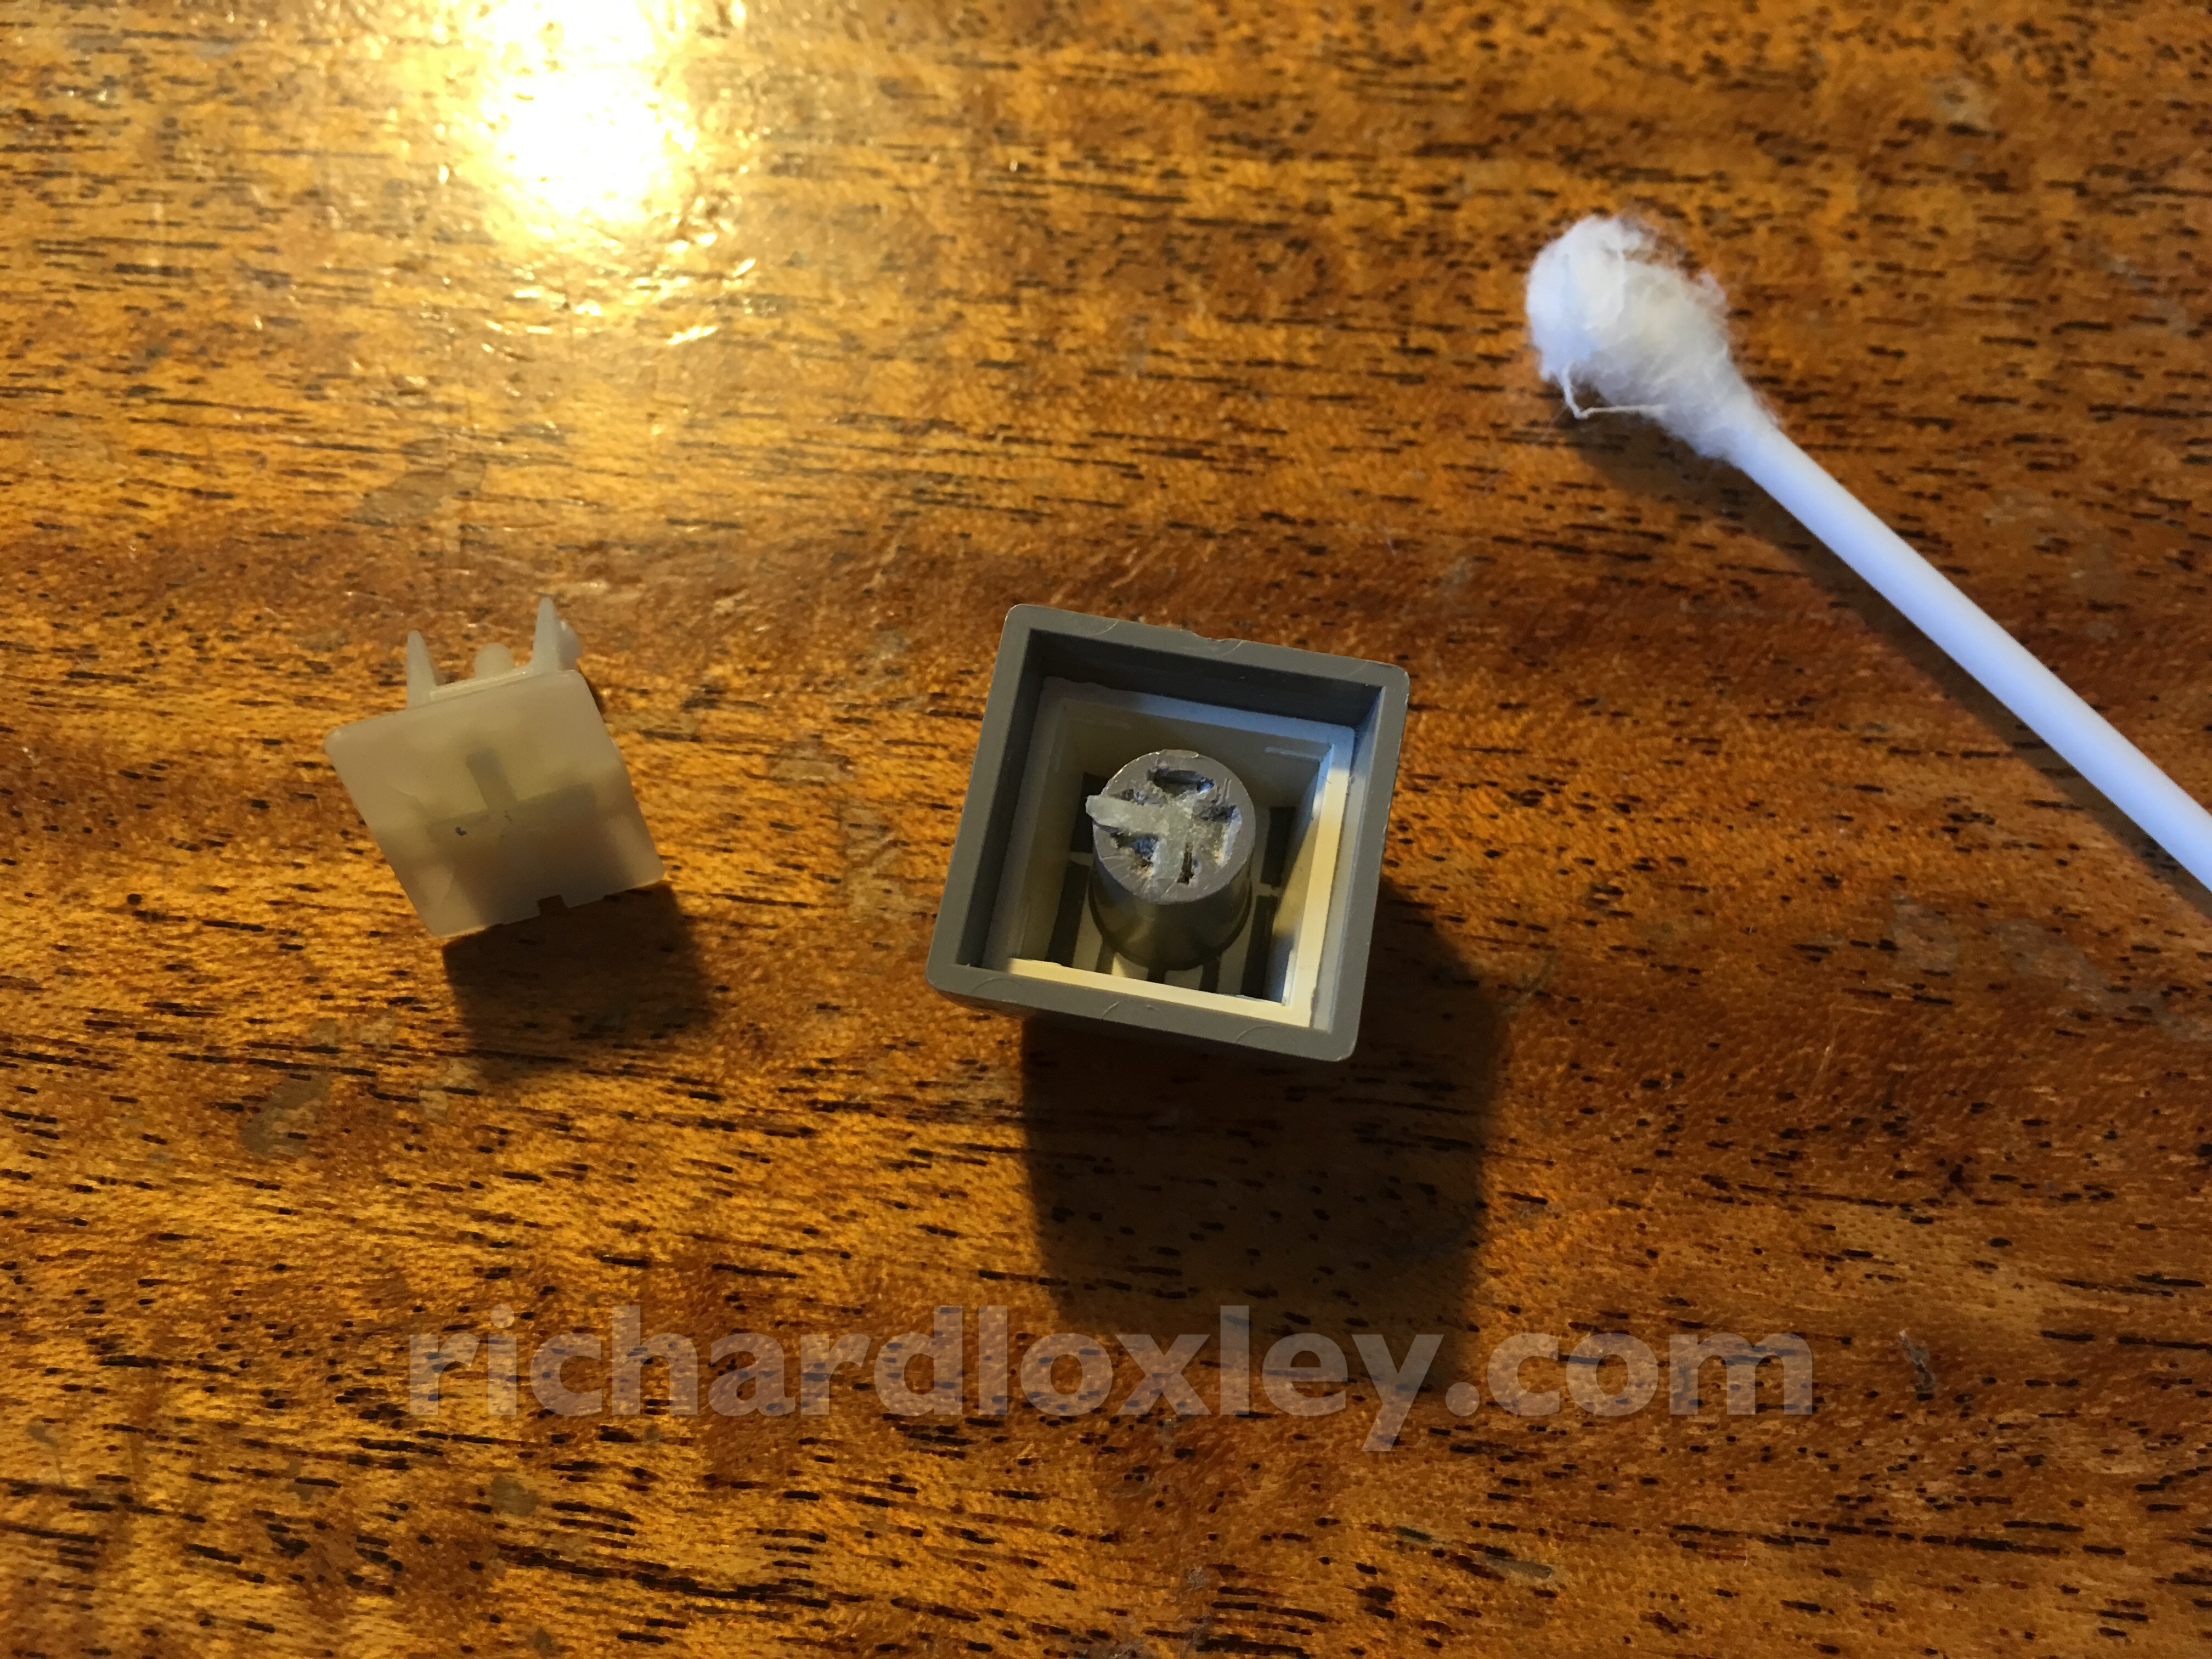
It’s not clear if I’m going to be able to make a strong repair with glue, as the contact points on the break are so small. I might have to glue the key-cap directly onto the plunger. Even then, I’m unsure how good it will be long term.
Since my primary goal is to get one machine as good as I can, with the secondary goal of getting the other machine working in some fashion, I revisit the non-working machine.
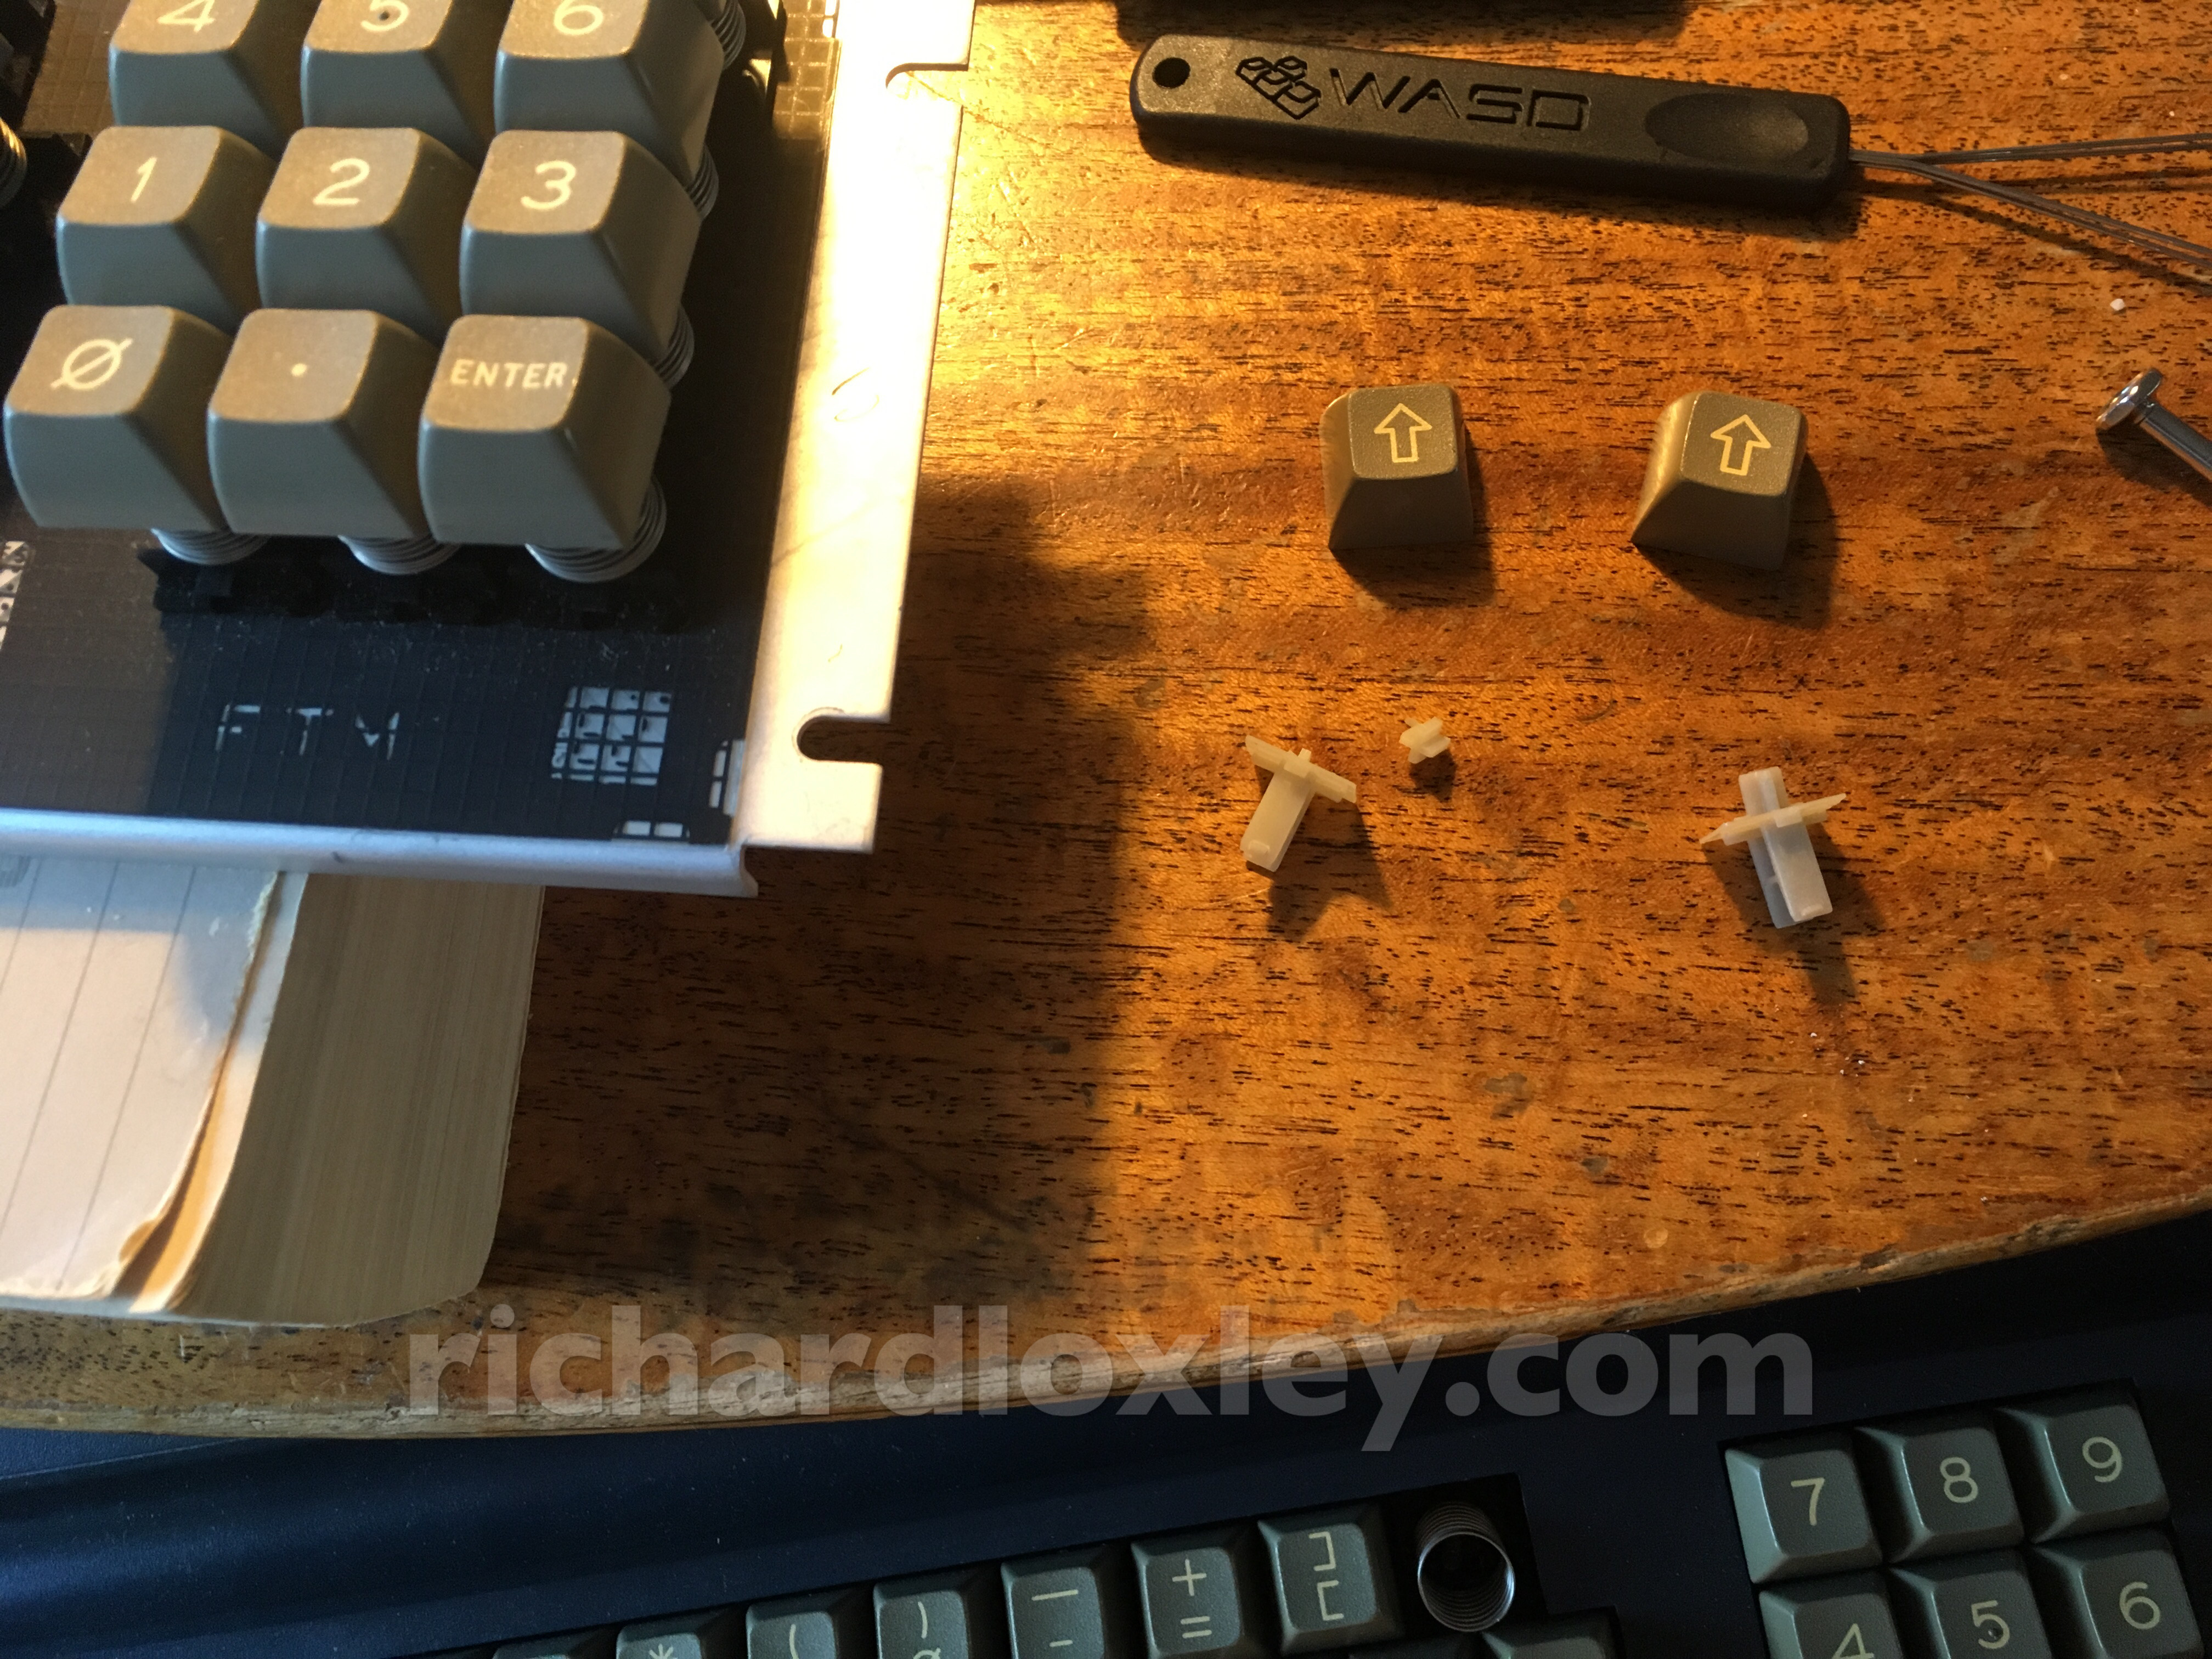
I remove the up-arrow key-cap and plunger from that keyboard, and compare them. (I also managed to get the broken piece of the plunger out of the loose key-cap with needle-nose pliers, and that allowed my to clean up the key-cap further.)
I then took the good plunger and installed it in the broken (but otherwise best condition) keyboard:
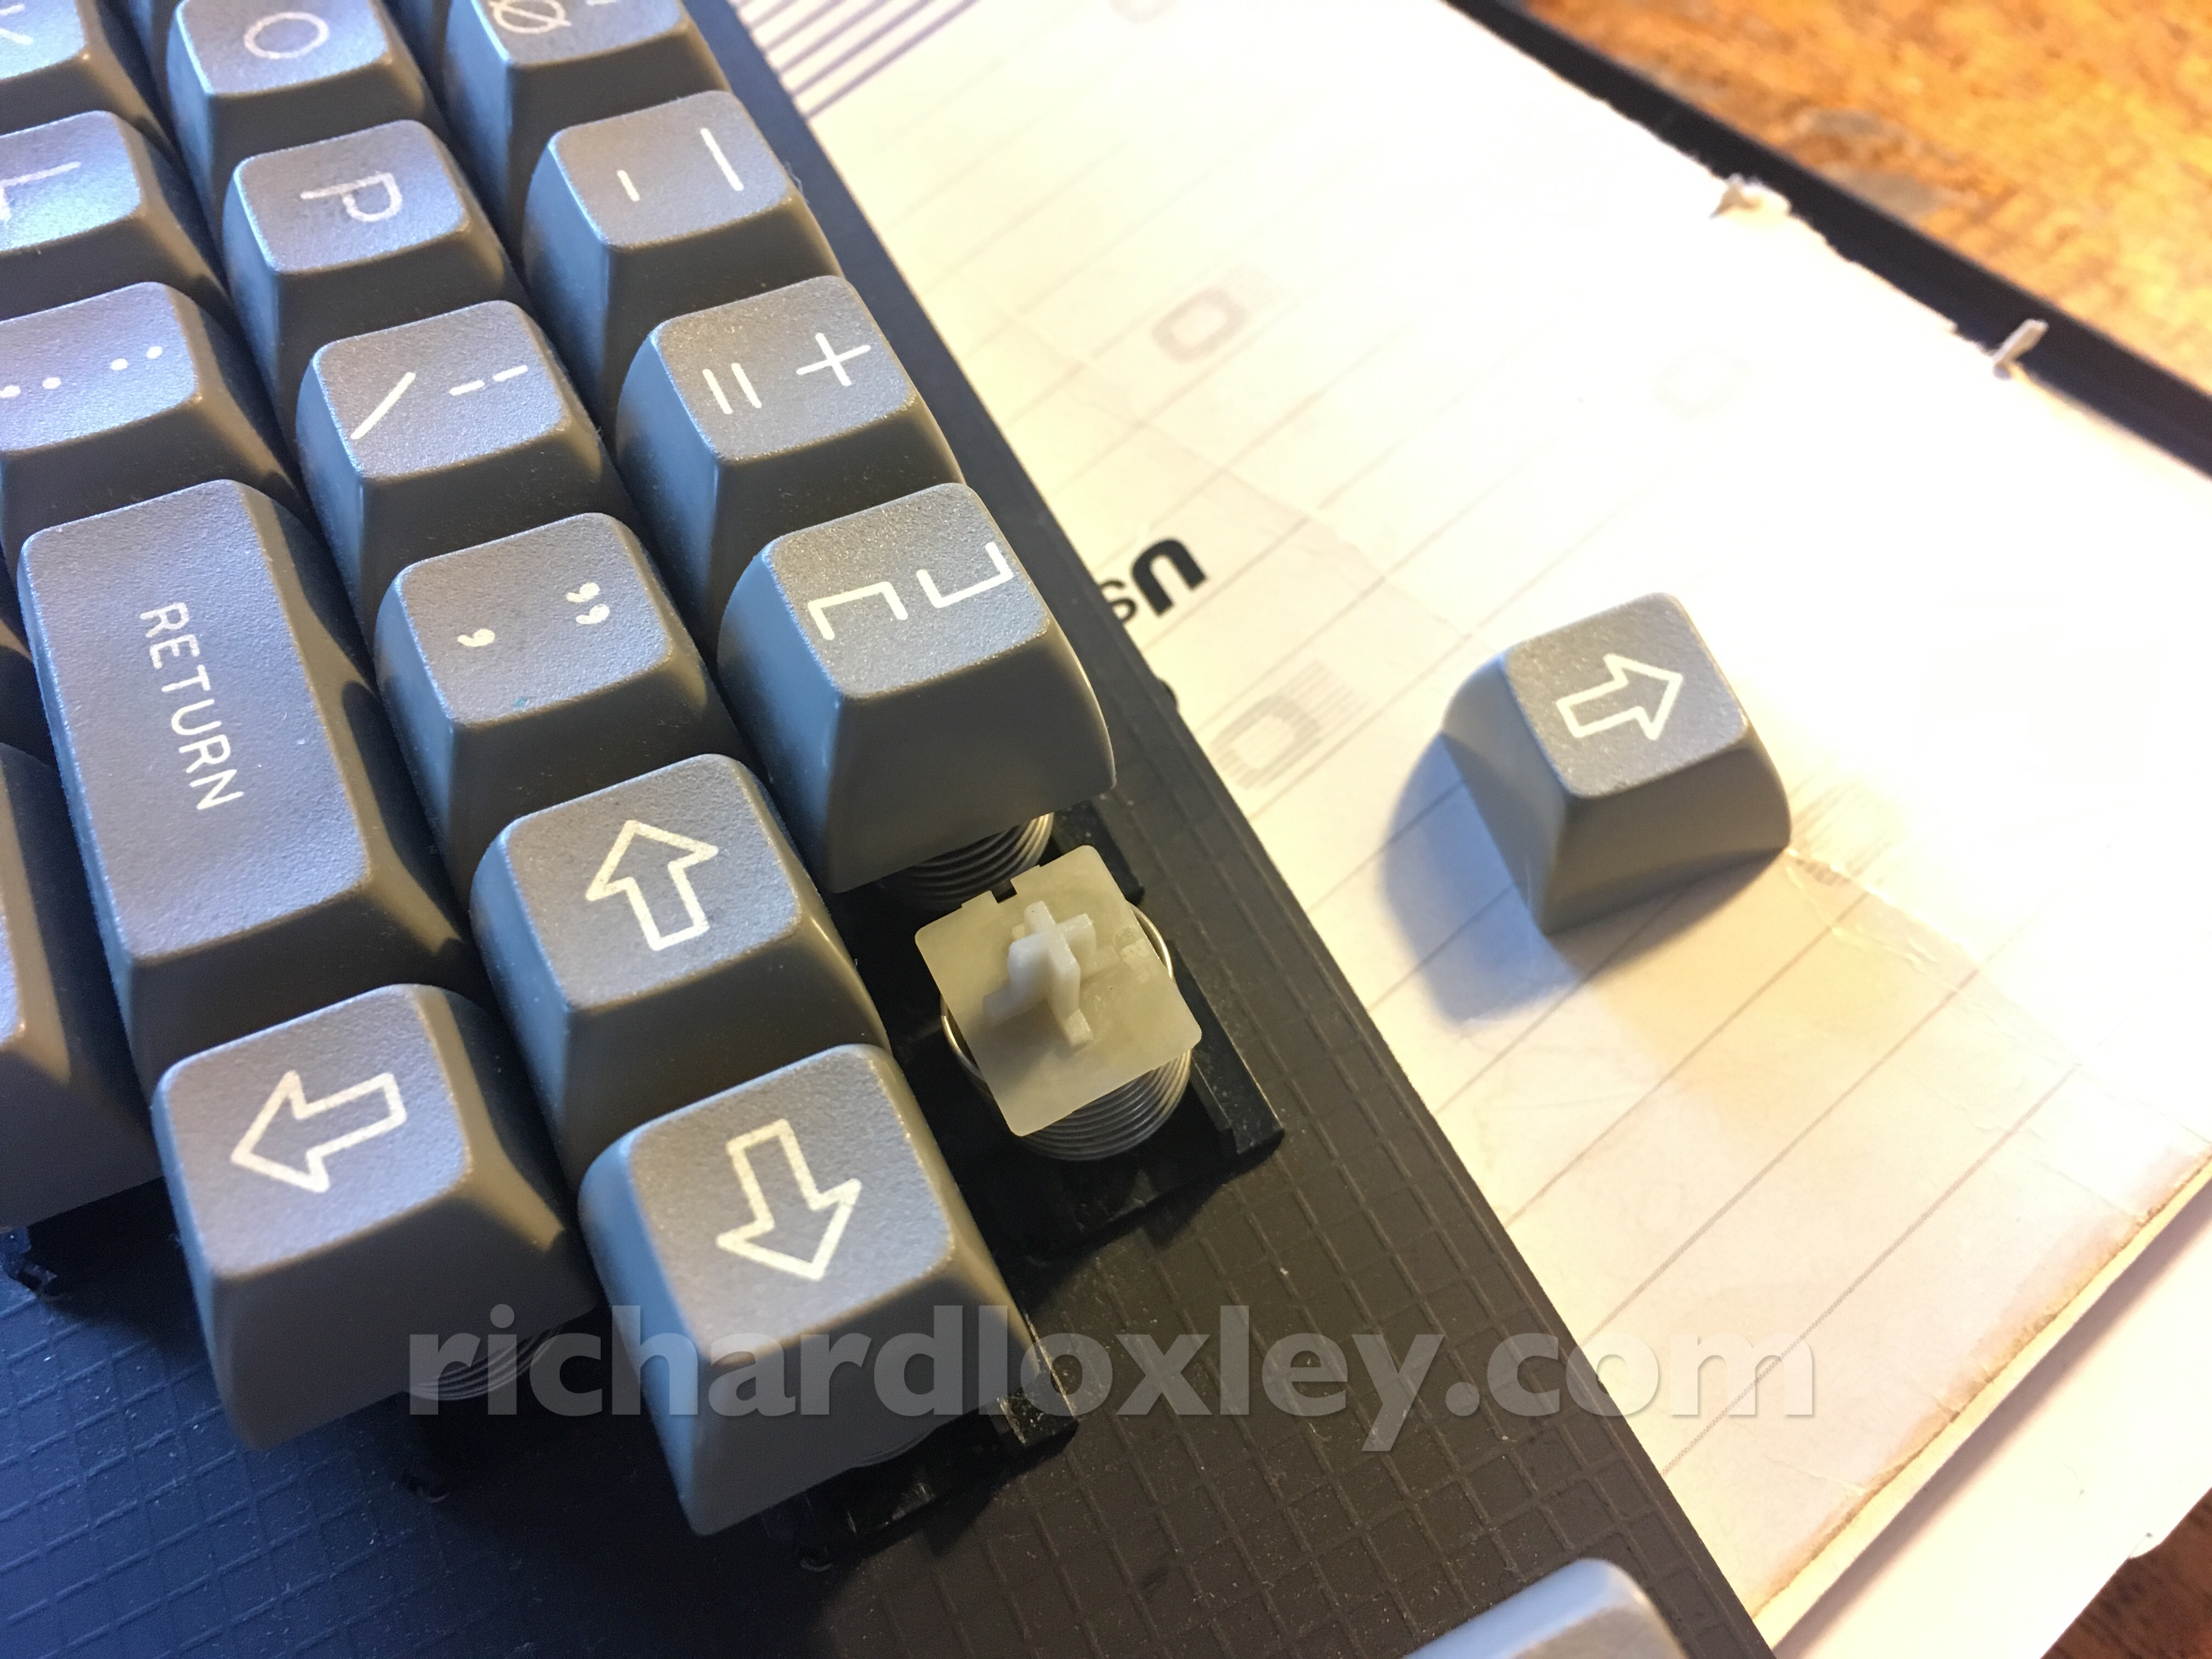
Looking good!
Reassembled, and every key still works :-)

Now to try to fix the broken plunger to make the keyboard on the non-working machine as good as I can.
I’m initially going to try just gluing the plunger. I try this contact adhesive. I’m not certain if it’s good for this plastic, but it seems to have worked well with similar hard plastics in the past. It’s one where you apply it to both sides, wait for it to dry, then press the pieces together. I apply it liberally to get a bit more contact area than just the break.
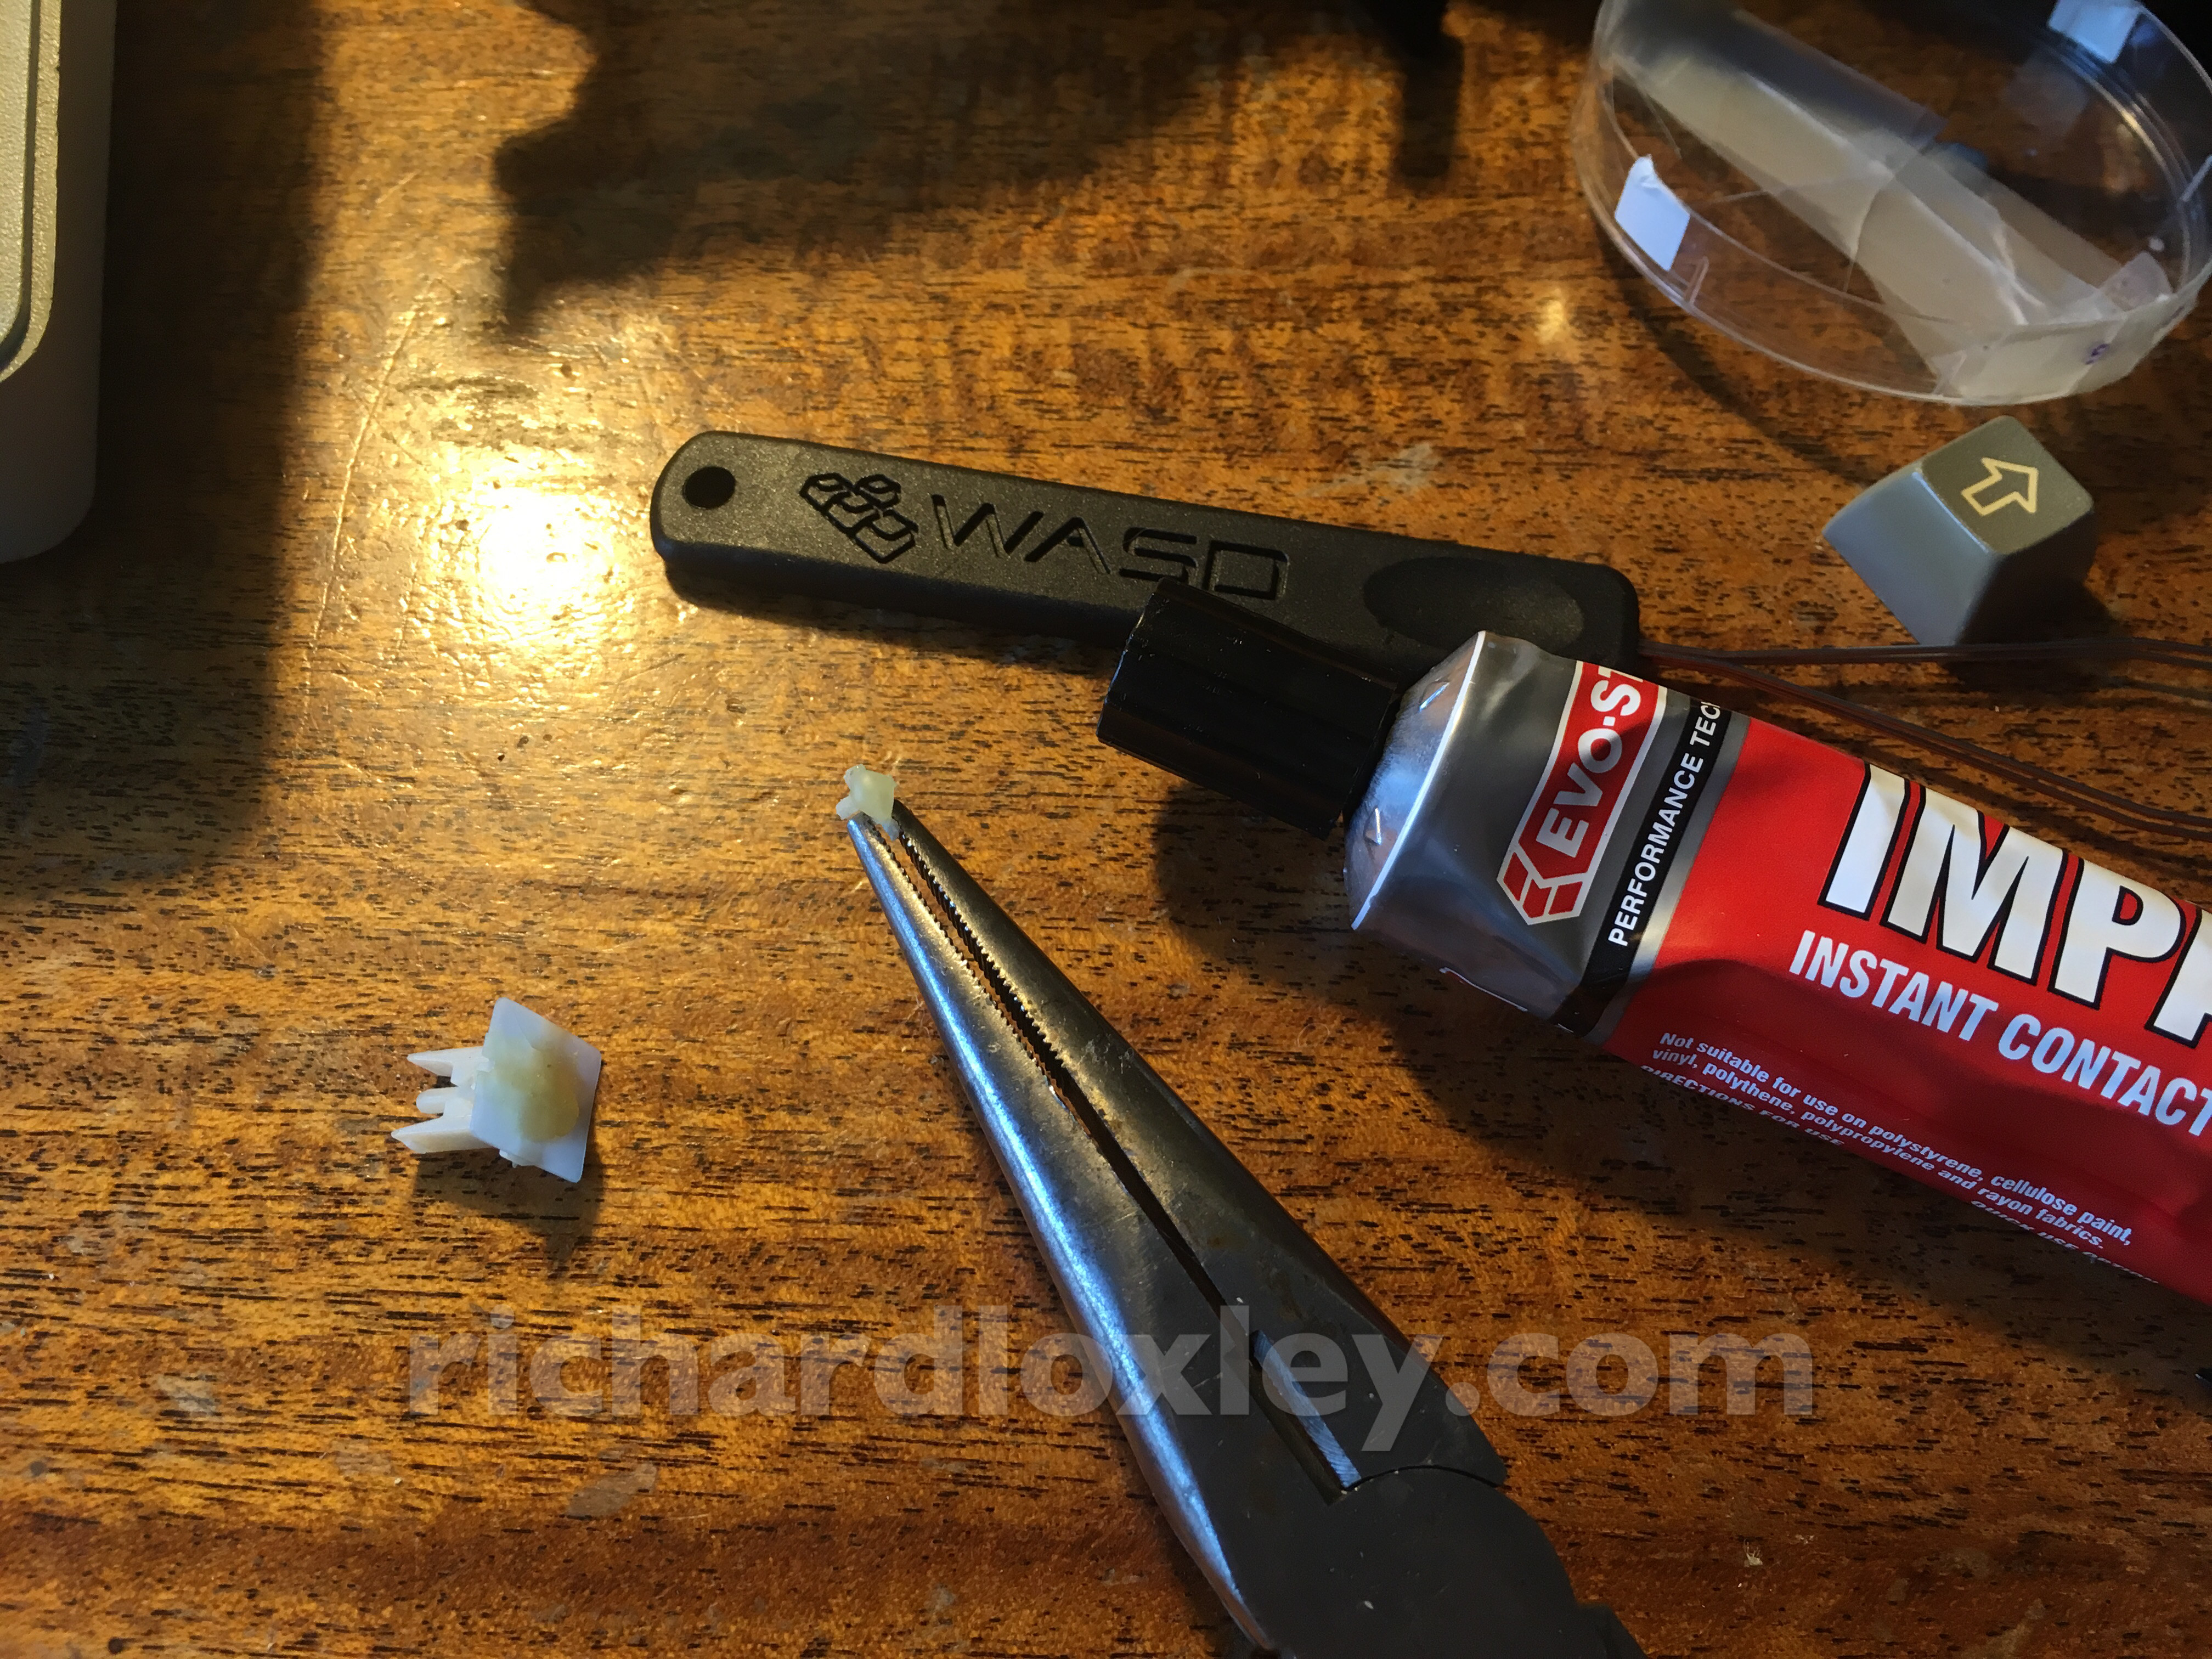
The adhesive is supposed to be instant setting on contact, but didn’t seem that solid at all. (N.B. the strange angle is deliberate and matches the original as the keyboard is raked!)
The glue says full strength is achieved in 24 hours, so I’m just setting this aside for now, and I’ll check tomorrow to see if it’s hardened at all. If not I’ll have to investigate other ways of attaching the key-cap!
I have wondered if the replacement key plungers might still be available. I Googled “Oak FTM keyboard” and found that it was used in a few different keyboards. However I subsequently found the Sun and IBM keyboards mentioned seem to have different mounting mechanisms for the key-caps, so won’t be compatible with the Osborne.
But from that link I found a nice discussion of the Osborne, and a keyboard disassembly guide by the same person (too late for me!)
I also found another nice tear-down of a vintage computer using what looks like the same key mechanisms as the Osborne. But the Techron TEF System 12 seems to be an even rarer beast! There’s some discussion that it might be a re-branded Kaypro, itself a competition (or maybe clone?) of the Osborne.
So I don’t think new key plungers will be forthcoming, so I’ll just need to press on with what I’ve got :-)
Edit: two days later…
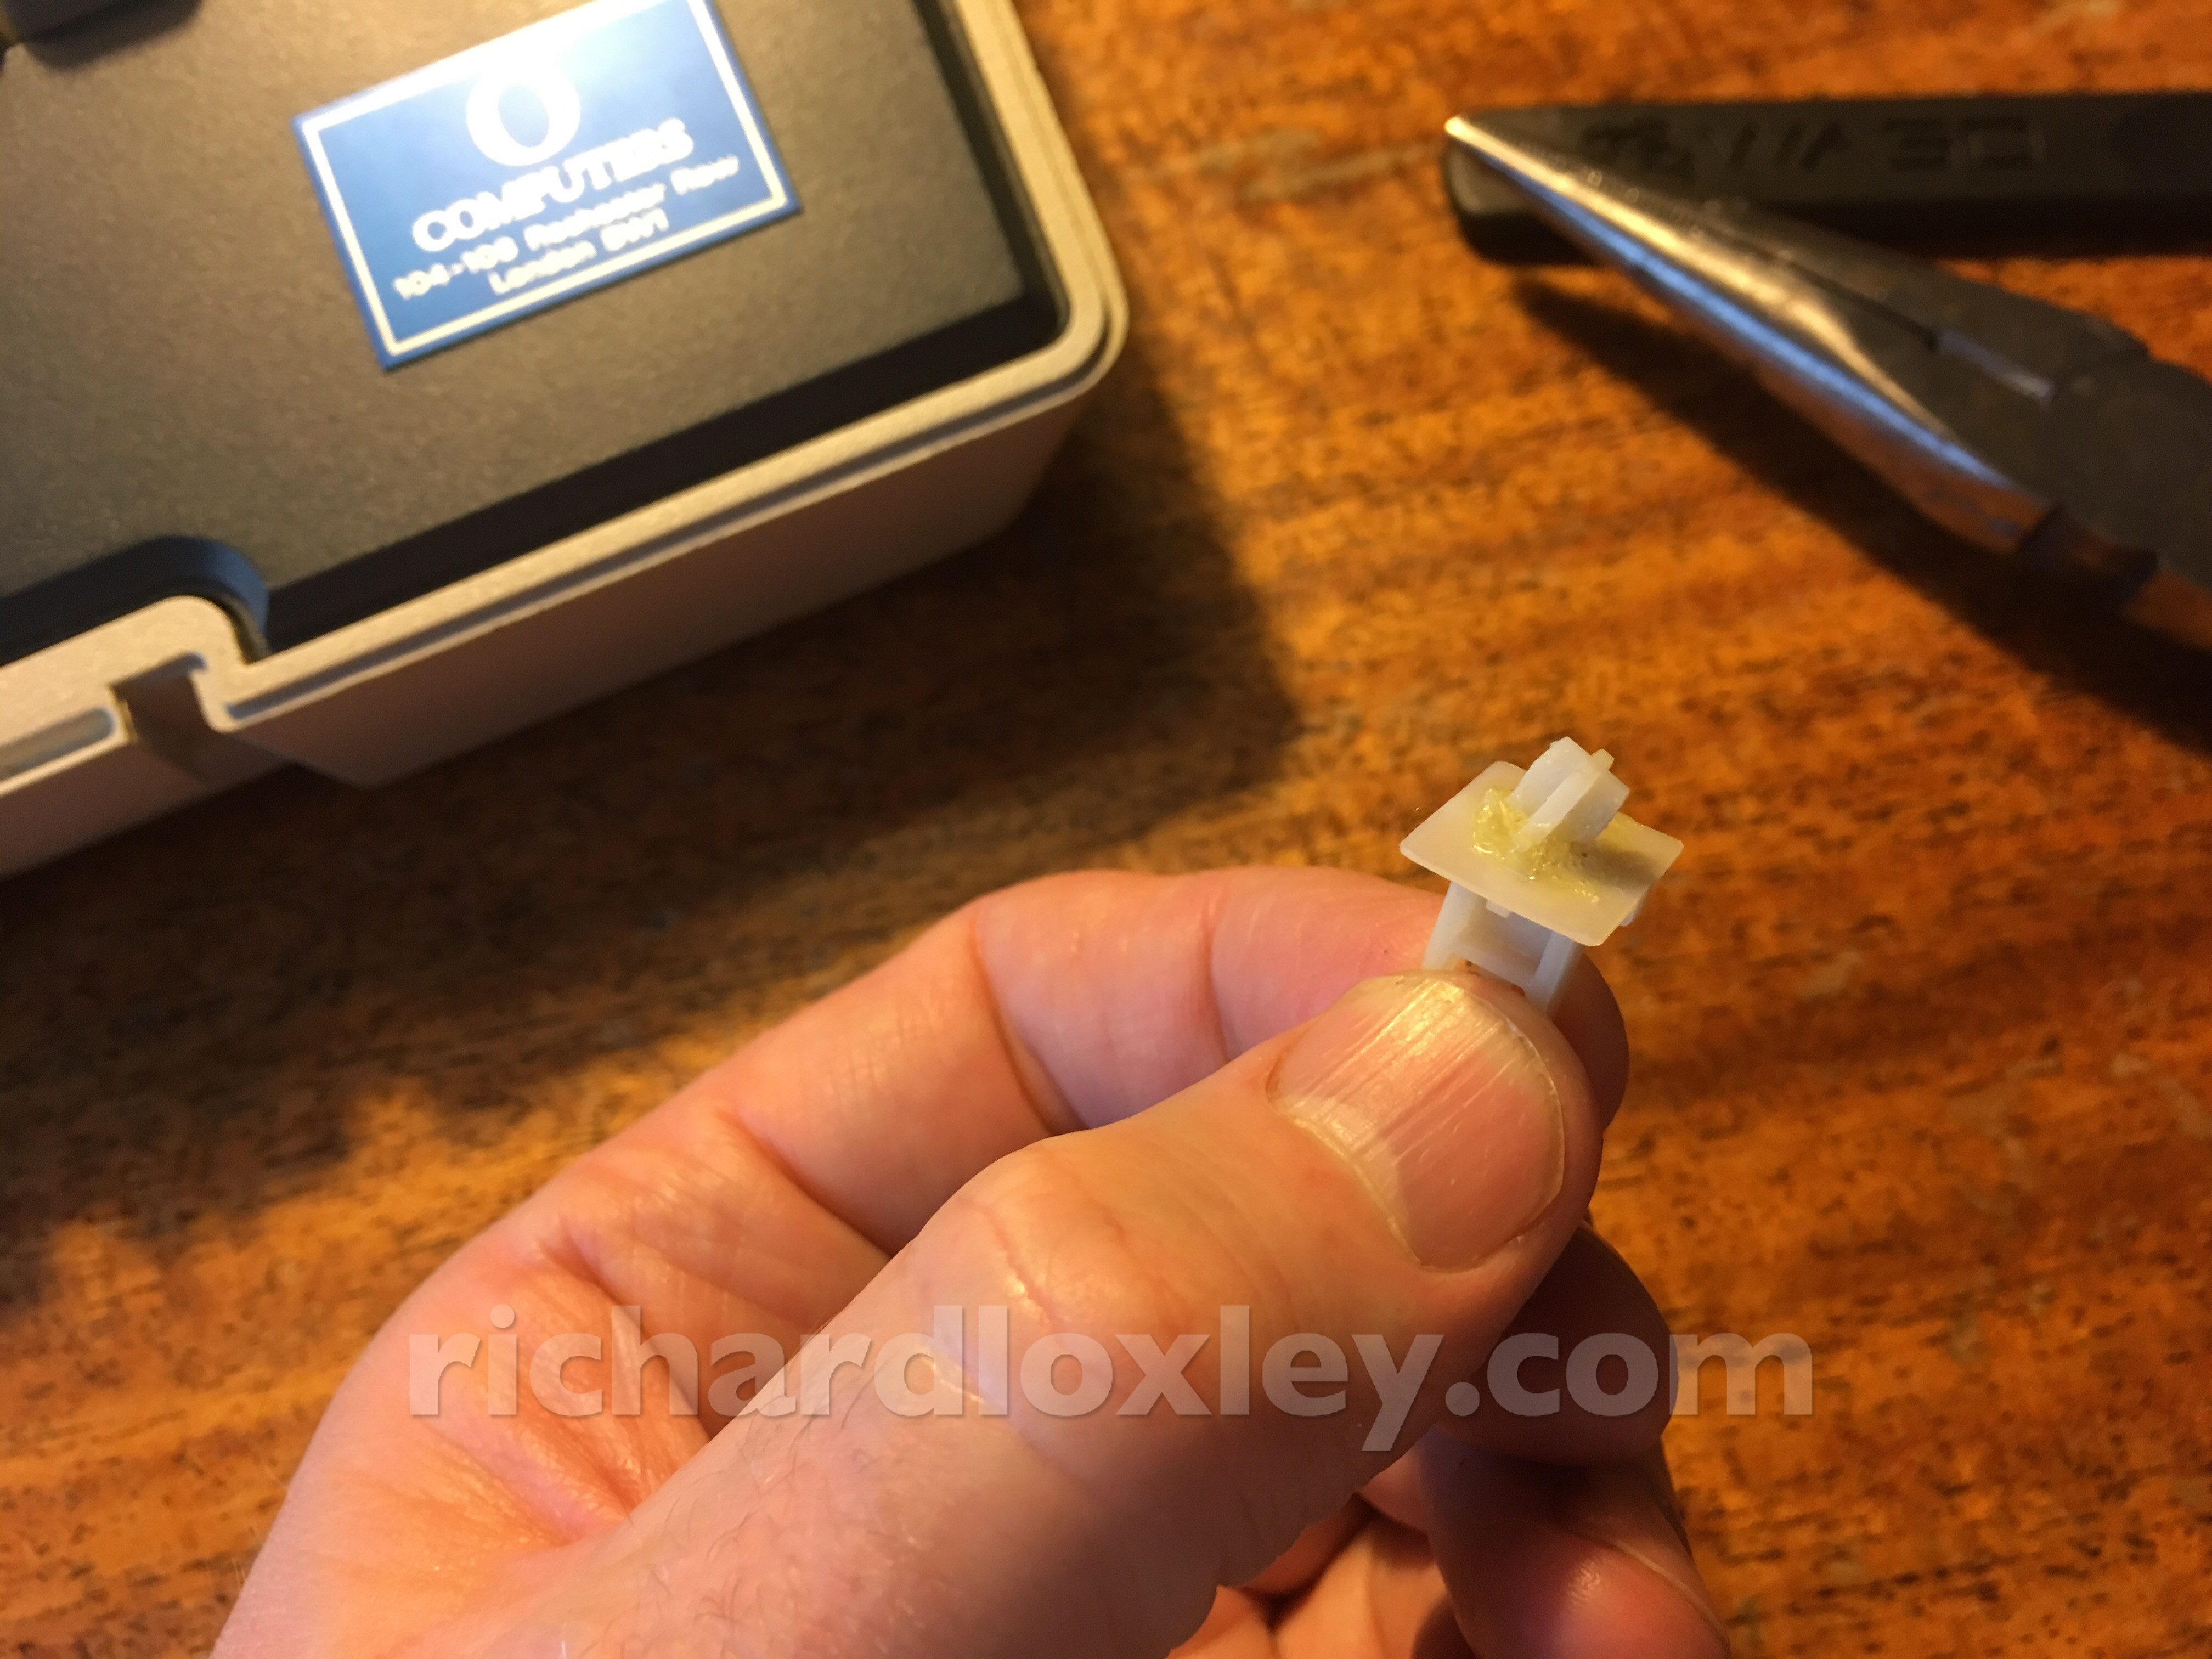
As it happens it was 48 hours before I got around to reassembling the glued key plunger. It seemed reasonably solid, but I didn’t want to press my luck putting too much stress on it.
Reinserted in the keyboard:
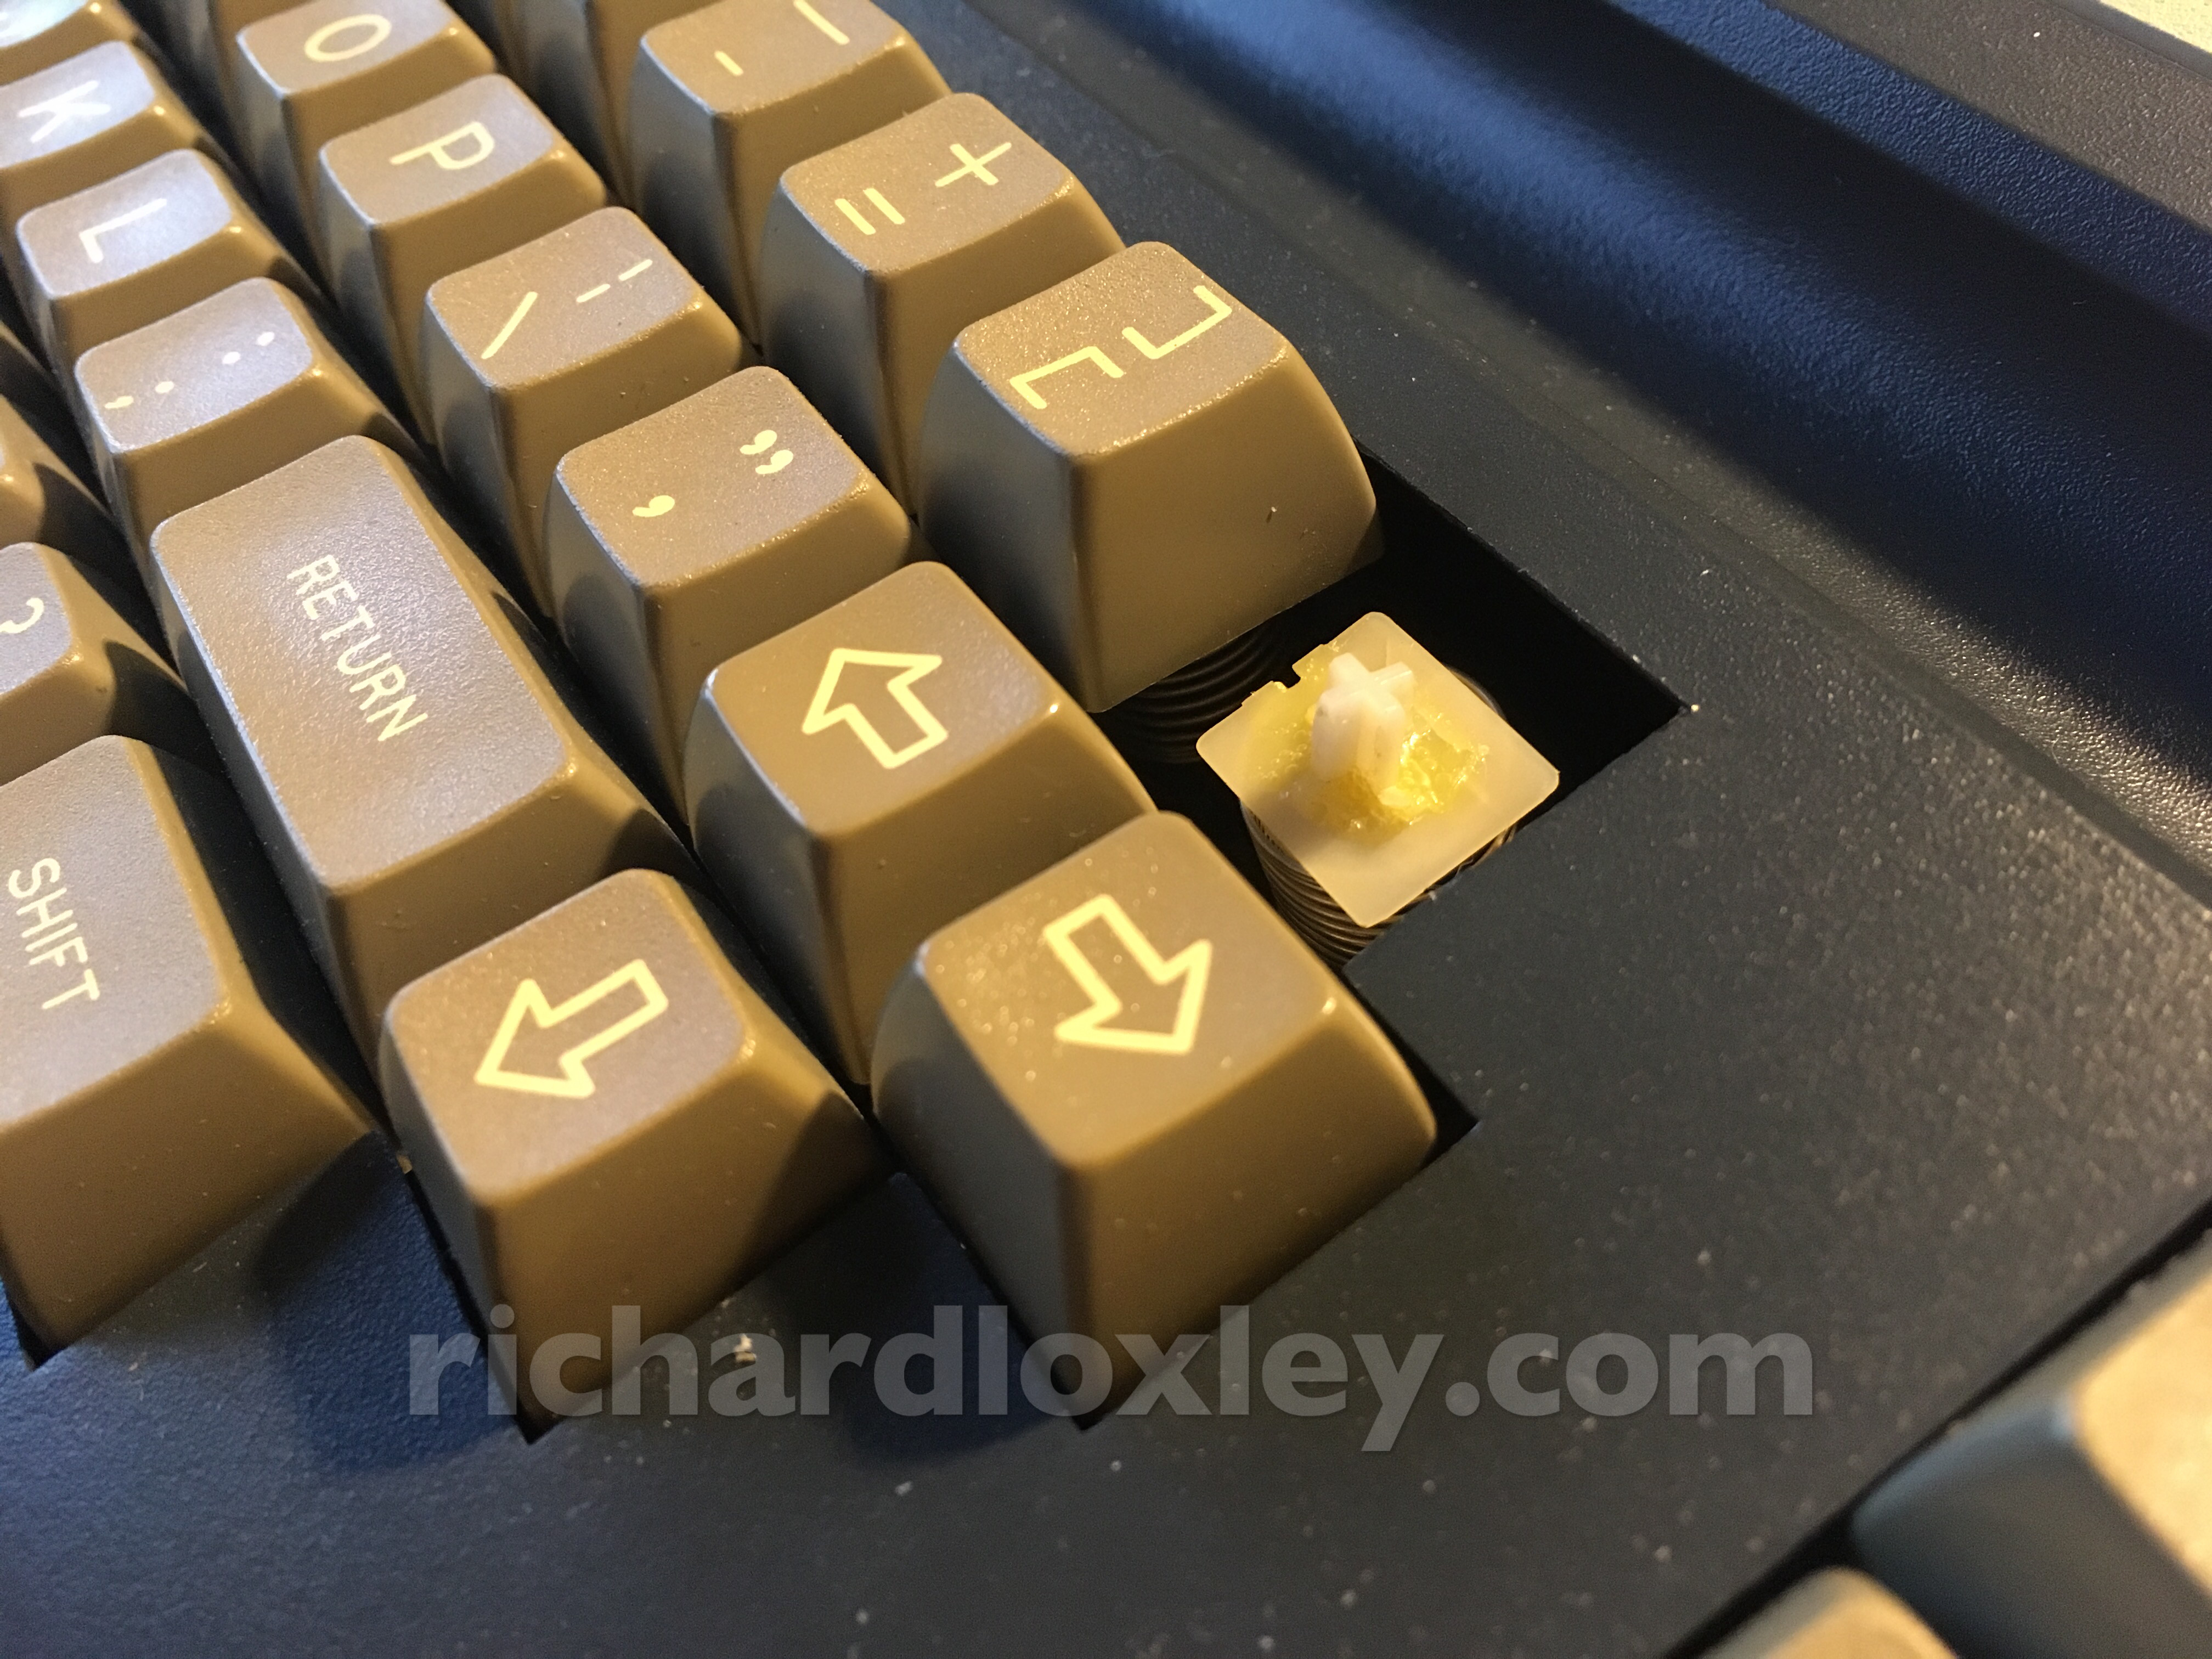
Attaching the key:
It’s slightly wonky compare to the other keys. The detached shaft of the plunger must have rotated slightly as I tried to glue it. (The cross-section at the break is tiny, so it was very difficult to get any sense of alignment between the parts.)
But it seems to work, and looks ok unless you specifically look for it! So that will do.