This is part of a series of posts for the Retro Challenge 2018/04. See my index page for the other posts.
The Challenge
Now my Osborne 1 is working well, it’s time to transfer some software onto it.
I have a handful of disks that came with it (just business software), but there is a whole wealth of CPM software out there, if only I can get it onto the machine in a format it can read.
Today’s task is to find a workflow that enables me to download CPM software from the internet, and easily load it onto the Osborne.
Software Formats
The software I’ve managed to find online has been in one of a number of formats:
- Osborne disk images
- CPM command (Z80 binary) .COM files
- Microsoft BASIC .BAS files
I’d previously tested transferring individual files via RS232. In those tests I used PIP at the Osborne end, which can only handle small files. That’s because it has no flow control, so when it needs to stop and write its memory buffer to disk, it doesn’t pause the transmitting end.
Supposedly using a more advanced tool such as Kermit would avoid those problems.
However it is still slow and laborious. By default the Osborne serial port works at 300 or 1200 baud. From the technical manual, I did find there is an internal jumper (J1) on the motherboard. If you remove the jumper then it doubles the speed of the serial port to 600 or 2400 baud (the software still reports it as 300/1200 though!) I tested it at 2400 baud successfully.
There are additional connection points on the motherboard where you can make modifications to select even higher baud rates (according to the technical manual). However it warns that due to the clock speed of the motherboard, the highest speed the Osborne can receive is 2400 baud. The modifications are purely for one-way communication from the Osborne at higher speeds (e.g. to a printer).
So RS232 is probably not the best way to go.
Disk Image Formats
Disk images seem a better solution, given I now have a USB disk emulator that works well. But I needed to find a way to edit them to insert individual .COM and .BAS files.
Disk images come in a variety of formats:
- .IMG/.RAW raw disk images (just a dump of the data in a single block with no information about the tracks/sectors disk geometry)
- ImageDisk .IMD files (includes metadata about disk geometry) – used by many download sites
- Teledisk .TD0 files (includes metadata about disk geometry) – used by a few download sites
- HxC .HFE files (includes metadata about disk geometry) – required by the Gotek/FlashFloppy USB emulator
Available Utilities
Whilst there are quite a few utilities for manipulating the various image formats, many are platform specific. I am using macOS (High Sierra). In the end I found these utilities that worked for me:
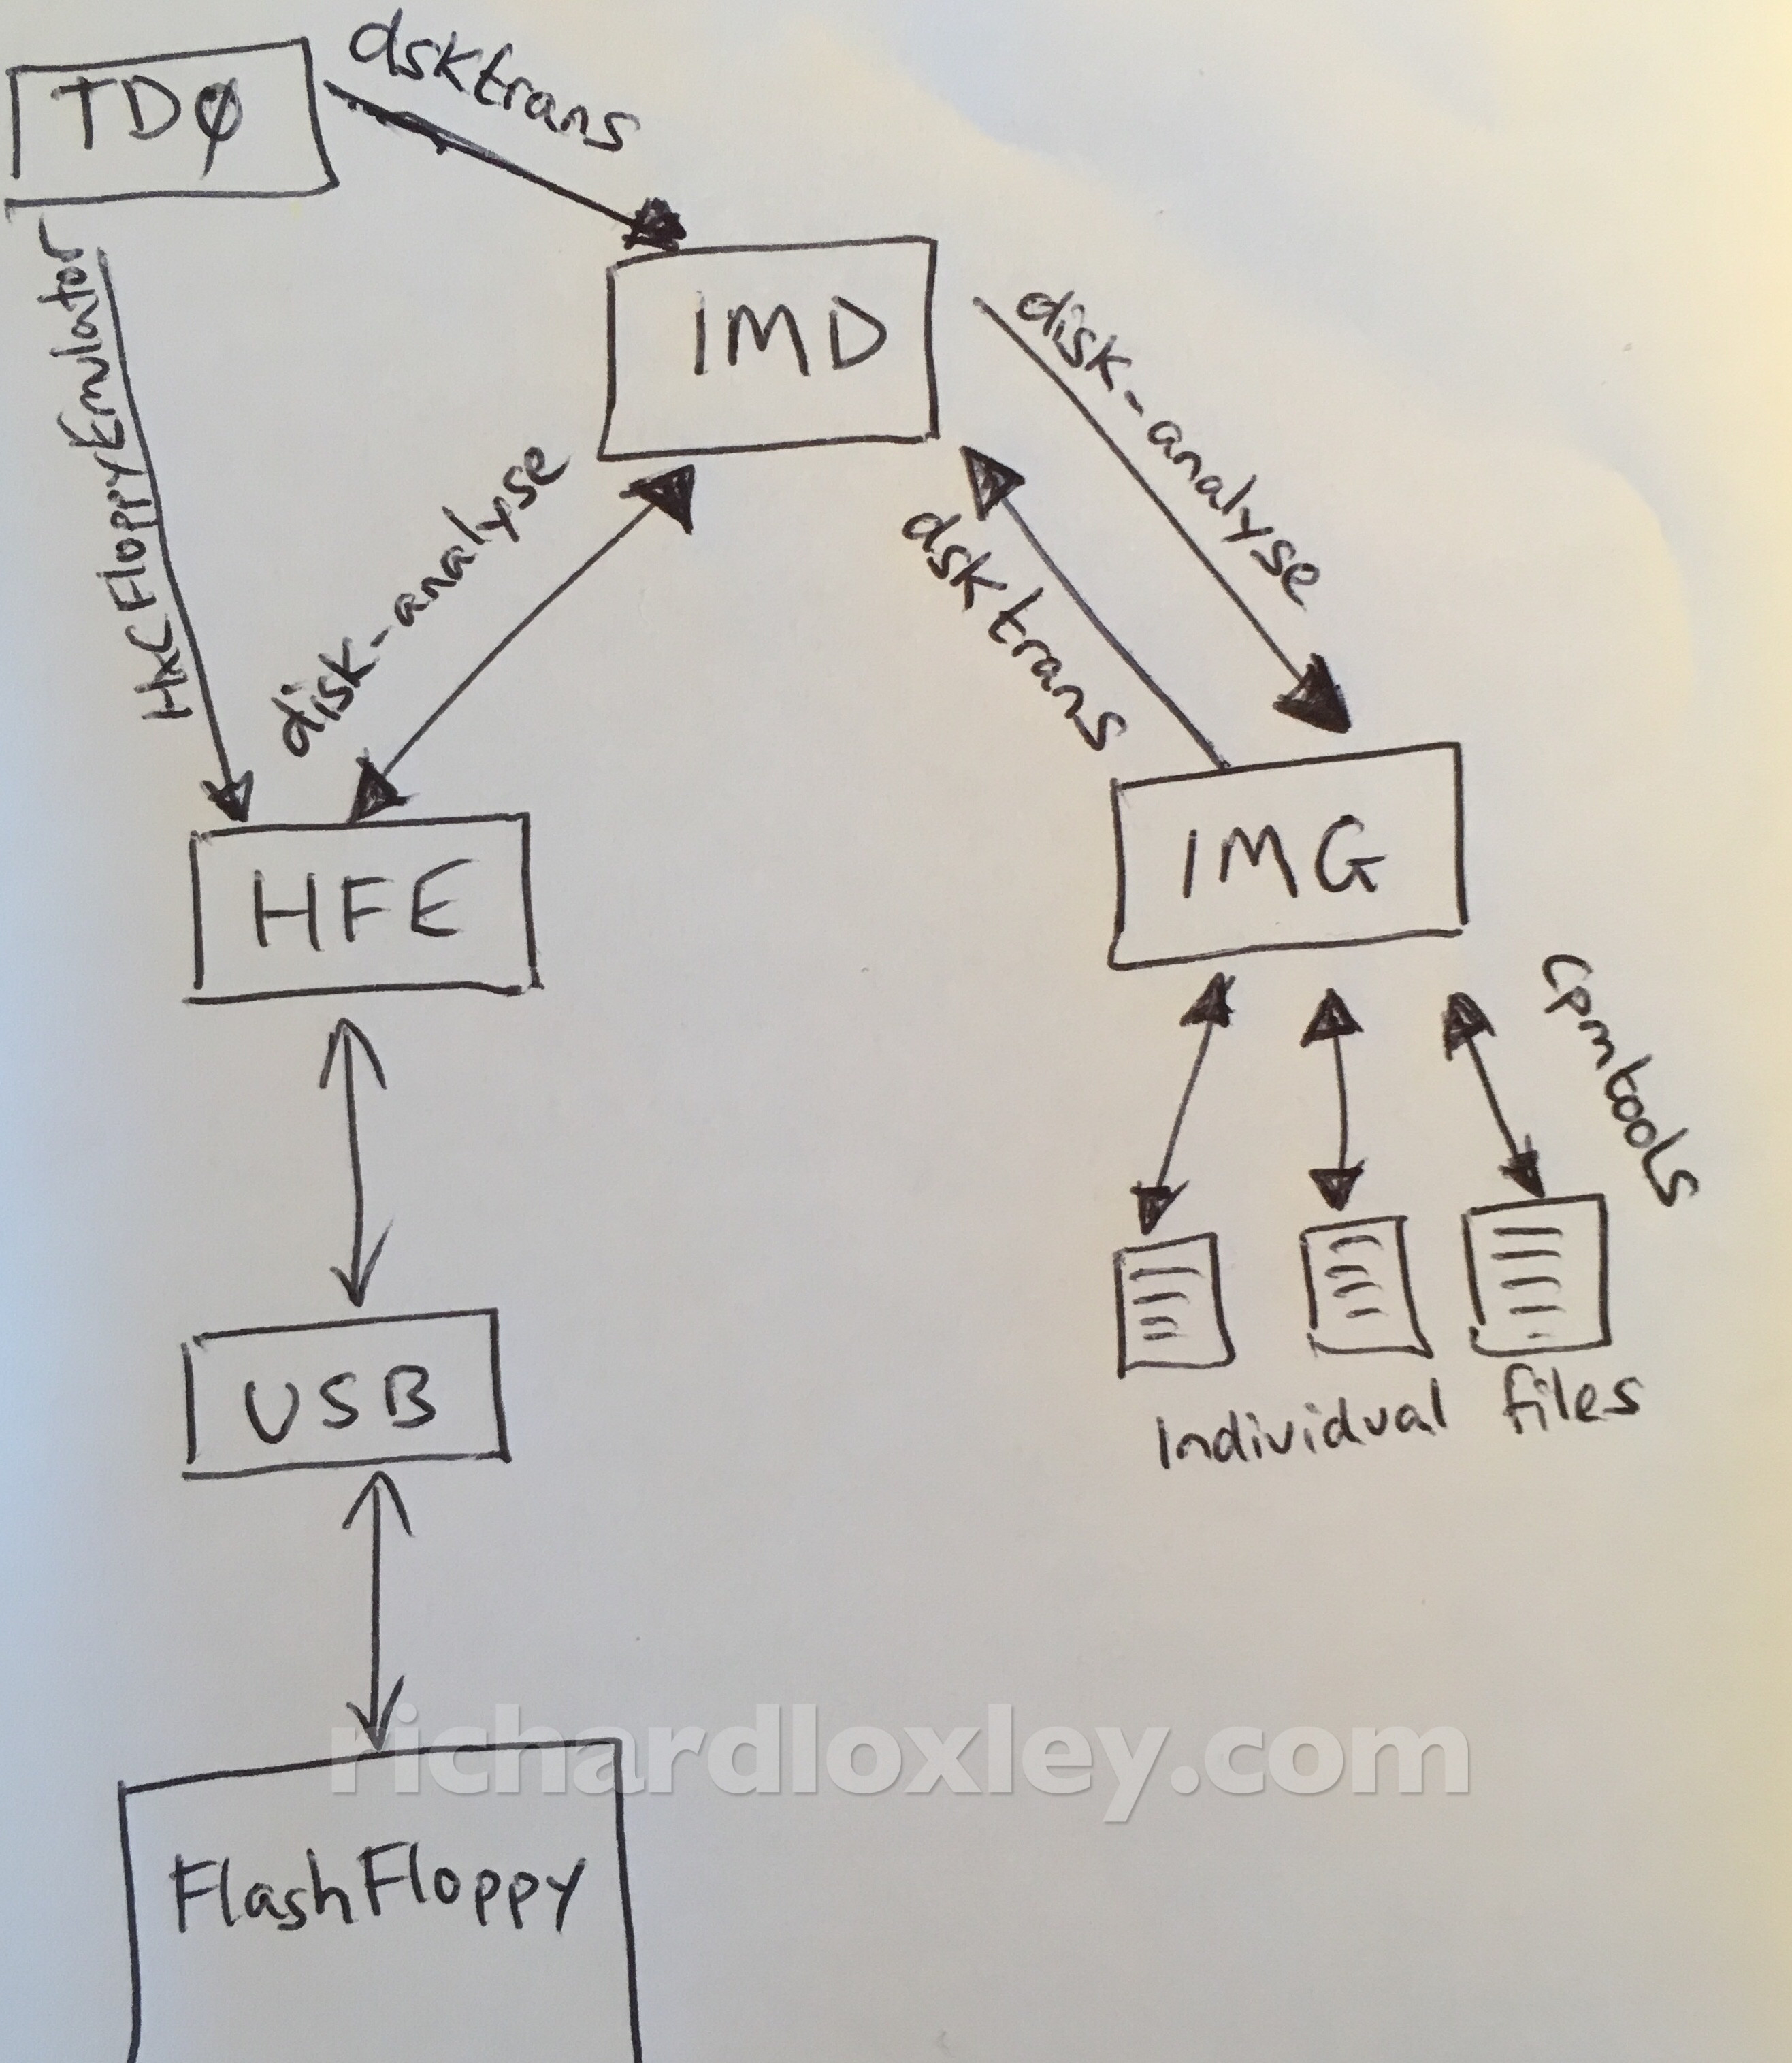
- cpmtools (home page / GitHub link) – will access individual files on a CPM disk image (but only for IMG/RAW images).
- disk-analyse (part of Disk-Utilities) – will convert IMD to HFE and back again. Will convert IMD to IMG/RAW, but not back again (I couldn’t find a way to tell it about the geometry of the raw image). It didn’t seem able to convert directly between HFE and IMG (it crashed with a segmentation fault when you try).
- dsktrans (part of libdsk / GitHub link) – will convert IMG to IMD (if you tell it the disk geometry); will also read TD0 files.
- HxCFloppyEmulator (download page) – will convert to/from HFE format (using a GUI) – I personally prefer other command-line tools though.
All this can be summarised much more concisely in this picture :-)
Installing and Using the Utilities
Here’s instructions on how I set them up on my Mac:
Homebrew
I found that some of the packages were available pre-compiled in the Homebrew package manager.
If you don’t yet have Homebrew installed on your Mac, it’s a one-line install from the Terminal:
/usr/bin/ruby -e "$(curl -fsSL https://raw.githubusercontent.com/Homebrew/install/master/install)"
cpmtools
cpmtools can read/write individual files in IMG/RAW disk images formatted in a variety of common CPM formats.
To install (via Homebrew):
brew install cpmtools
It adds the following commands: cpmls, cpmcp, cpmrm, cpmchmod, cpmchattr – which are equivalents of the UNIX ls, cp, rm, chmod, chattr.
You need to give it the path to the disk image, and also the format of the image. e.g for Osborne 1 disks:
cpmls -f osborne1 disk.img
You can set the default format in your shell environment so you don’t have to put it on the command line. e.g. adding this to ~/.bashrc:
export CPMTOOLSFMT=osborne1
allows you to just use:
cpmls disk.img
To manipulate individual files on the CPM disk image you need to provide the ‘user’ number (group) for the file at the CPM end (0 is the default CPM user):
cpmcp disk.img file.com 0:file.com
disk-analyze
Download Disk-Utilities from GitHub.
I did find that as of commit 3ec1cff (27 March 2018) it wouldn’t compile without errors on macOS High Sierra. I detailed some changes that would allow a successful compile in Issue #58. They seem to work for me, and hopefully don’t break anything! Hopefully this will be corrected in the future, so these edits may not be required.
You will need macOS development tools installed. I already had Xcode installed along with the command-line tools.
To build and install:
make
make install
It’s important to note that disk-analyse uses the file suffix to infer the disk image type – so you may need to rename files accordingly.
You can convert IMD to IMG:
disk-analyse src.imd dest.img
You can convert IMD to HFE:
disk-analyse src.imd dest.hfe
You can convert HFE to IMD:
disk-analyse src.hfe dest.imd
disk-analyse can’t do IMG to IMD as it doesn’t know the geometry of the raw IMG format (it gives the error “more than one format specified for IMG disk”). The implication is that it could do the conversion if you can specify the disk format. But I couldn’t find a way to add the Osborne 1 format.
I also found that if I tried to convert HFE to IMG or IMG to HFE I just got an immediate segmentation fault (I think it was in strcmp?) So instead I needed to convert via the intermediate format of IMD.
dsktrans
dsktrans is part of the libdsk package.
To install (via Homebrew):
brew install libdsk
By default it doesn’t know about the Osborne 1 disk geometry. You can add it in ~/.libdskrc:
[osborne1]
 description = Osborne 1
 cylinders = 40
 heads = 1
 secsize = 1024
 sectors = 5
 secbase = 1
 datarate = DD
You can then convert from IMG to IMD:
dsktrans -itype raw -format osborne1 -otype imd src.img dest.imd
It can also do TD0 to IMD:
dsktrans -itype tele -format osborne1 -otype imd src.td0 dest.imd
My Workflow
Finally, with all these tools installed, I developed a workflow.
The most useful disk format for me is HFE, as that’s what it needs to be for the Osborne to read it via USB.
So I wrote two shell scripts that would convert downloaded IMD or TD0 images to HFE: imd2hfe and td02hfe.
In order to manipulate individual files via cpmtools, the images would need to be in IMG/RAW format. So I wrote two shells scripts that would convert directly between HFE and IMG/RAW (via intermediate IMD files): hfe2cpm and cpm2hfe.
I already had a script hxc_eject that would unmount a USB drive, remove all the extraneous files that macOS installs on it, and sort the FAT filesytem into alphabetical order. (The name is because I originally wrote it for the HxC floppy emulator).
So a typical workflow might be as follows. (“OSBORNE” is the name of the USB stick.)
hfe2cpm /Volumes/OSBORNE/Games.hfe Games.cpm

cpmls -l Games.cpm

0:
-rwxrwxrwx 5632 Jan 01 1970 setup80.com
-rwxrwxrwx 8704 Jan 01 1970 zork1.com
-rw-rw-rw- 84992 Jan 01 1970 zork1.dat

cpmcp Games.cpm MONOPLY.BAS 0:MONOPLY.BAS

cpmls -l Games.cpm

0:
-rw-rw-rw- 26752 Jan 01 1970 monoply.bas
-rwxrwxrwx 5632 Jan 01 1970 setup80.com
-rwxrwxrwx 8704 Jan 01 1970 zork1.com
-rw-rw-rw- 84992 Jan 01 1970 zork1.dat

cpm2hfe Games.cpm /Volumes/OSBORNE/Games.hfe

hxc_eject

Usage: /Users/Richard/bin/hxc_eject <volume name>

Volumes are:
"2TB"
"Black Backup"
"Boot SSD"
"OSBORNE"
"com.apple.TimeMachine.localsnapshots"

hxc_eject "OSBORNE"
* Turning off Spotlight indexing *
Password:
2018-04-27 18:19:47.662 mdutil[23284:737639] mdutil disabling Spotlight: /Volumes/OSBORNE -> kMDConfigSearchLevelFSSearchOnly
* Deleting OSX-specific files *
* Unmounting disk *
Volume OSBORNE on disk4s1 unmounted
* Sorting disk *
*** If no errors appear above, it is now safe to remove the USB stick "OSBORNE" ***
You can find all these scripts on my GitHub page.
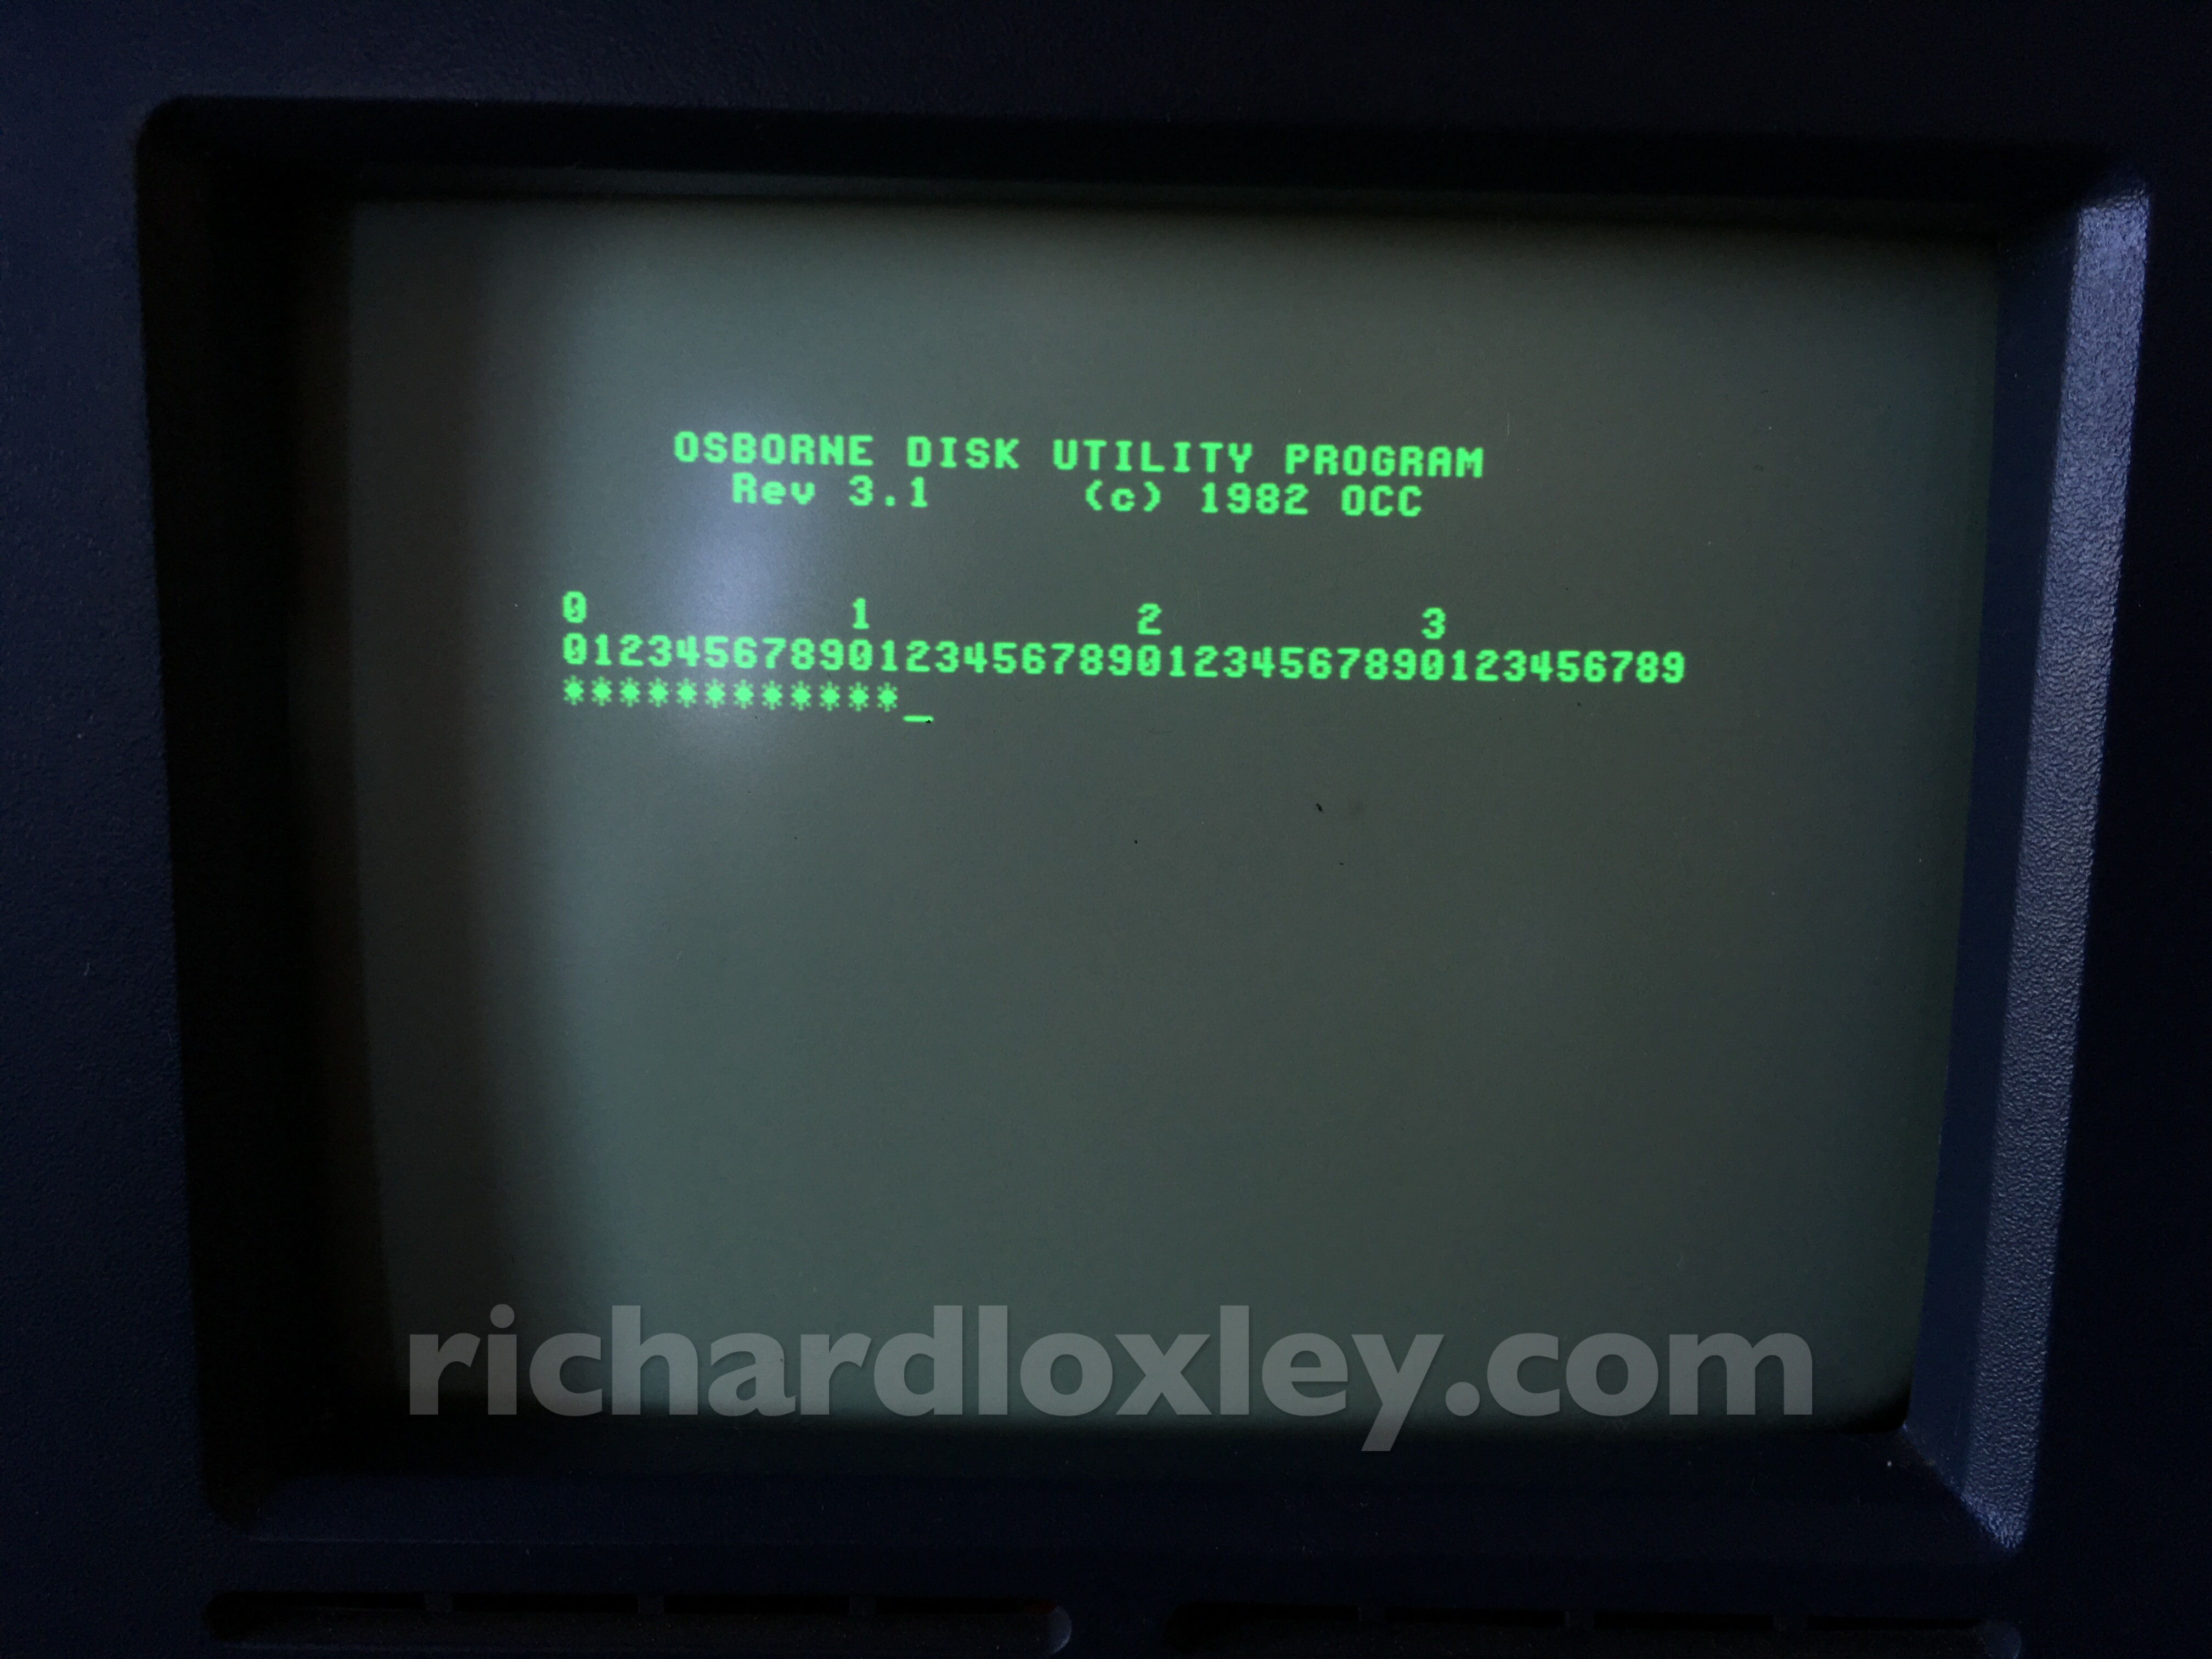
For future use I copied an existing HFE Osborne 1 disk image onto my USB stick, and then used the Osborne COPY command (selecting option F for Format) to format the image.
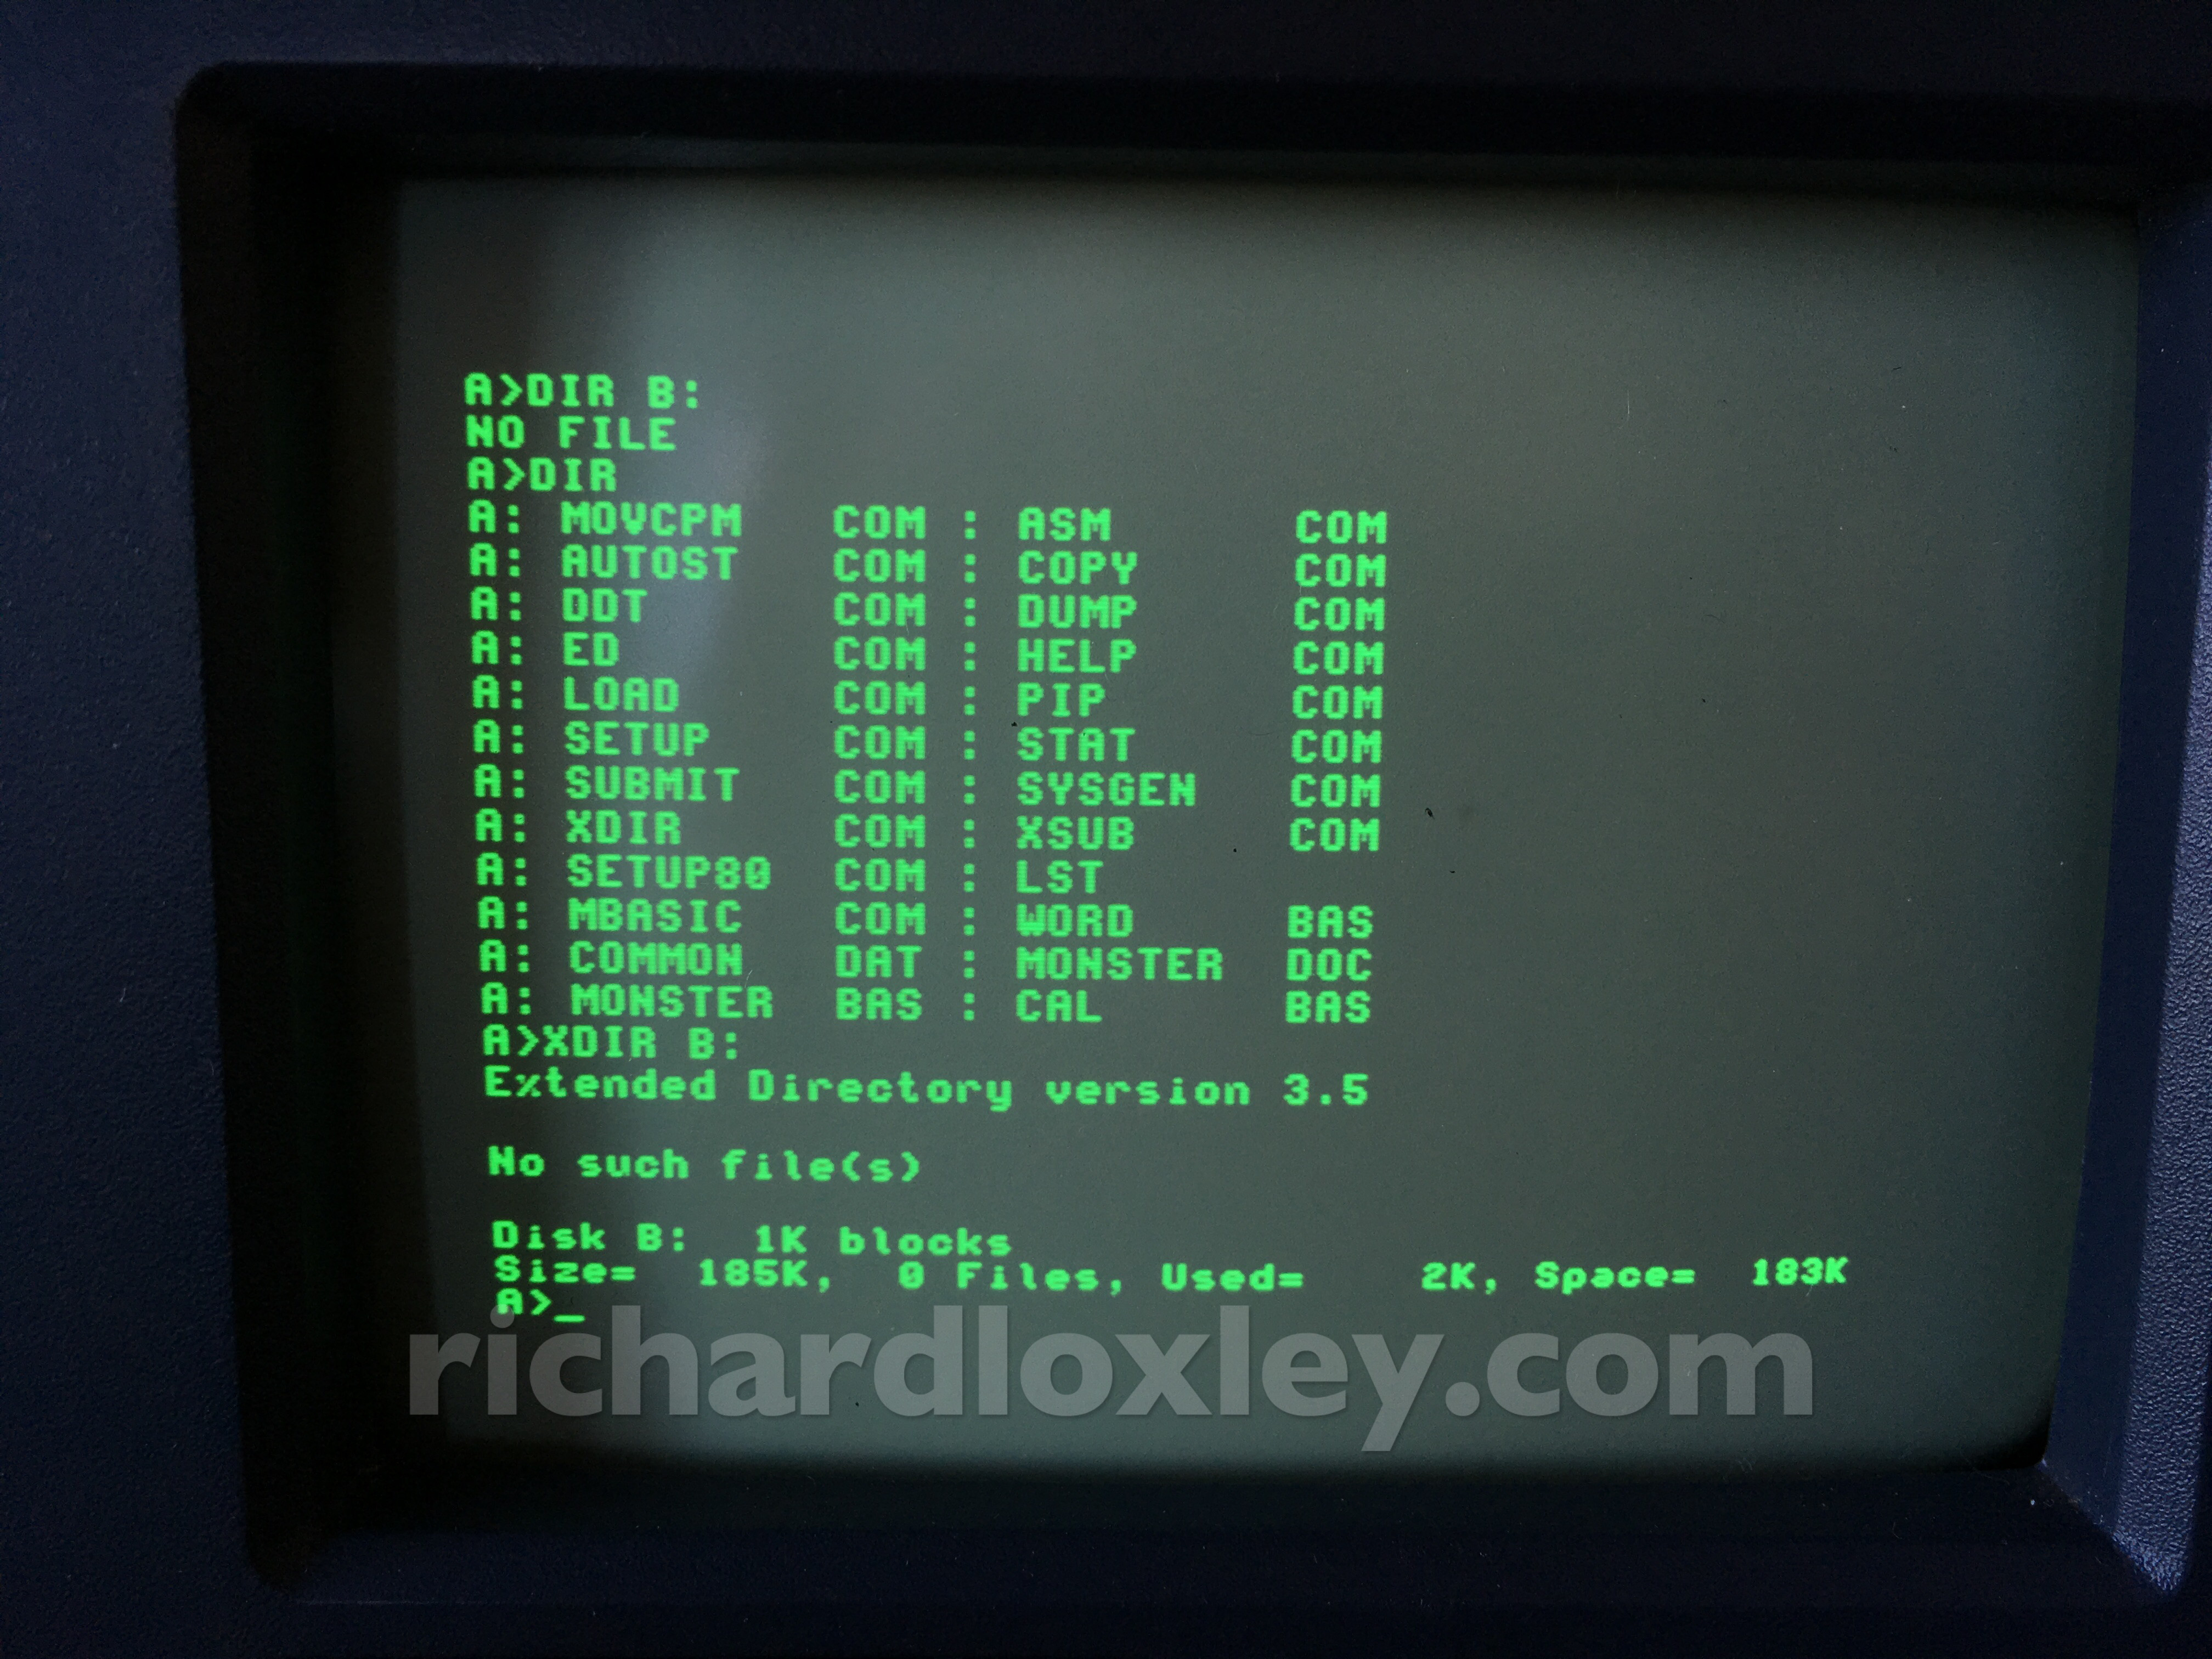
I copied that HFE back to my computer as Blank.hfe. I now have a blank formatted disk image I can copy whenever I want to fill it with CPM software :-)
For anyone who wants to avoid all this work, here’s a .zip file with lots of different Osborne software already converted to HFE disk images ready for use with a Gotek/FlashFloppy drive:
(It also includes the images for Infocom adventure games described in my next post.)